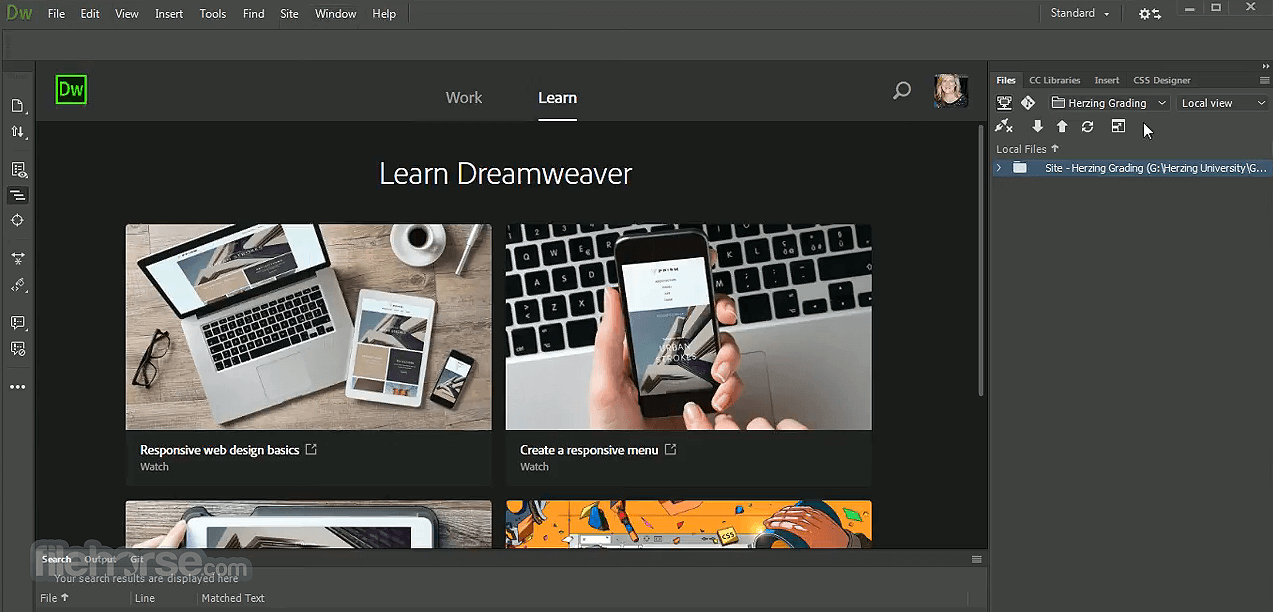
Dreamweaver is a web design software that is used by professional web developers. It has been around for a long time and it provides an easy-to-use visual interface to help you layout your website. The software does a good job of helping you to create dynamic web pages using HTML and CSS.
You can add content using the menu items or you can use the visual interface to add content to your page. Dreamweaver has a number of features that make it easy for designers to create websites, including the following:
Dreamweaver allows you to use HTML, CSS, and JavaScript to create your website. You can also use Javascript to customize your website and add functionality.
Dreamweaver allows you to use images in your site design. The software includes tools that allow you to resize images and change their properties so they will be displayed correctly on different devices.
Dreamweaver Web Design Software
Let’s introduce you to the Best Web Design Software Tools available today! With our vast experience in Web Design we can confidently recommend the use of the following Software Tools, Applications and/or Programs for top-quality results in web design and programming. The software tools we are going to elaborate on this page are Fireworks, Dreamweaver, Photoshop and Flash – They are so easy to use, beware, you could get hooked on to them 🙂 Don’t forget to read on to our next page for more on Best Software for Web Design.
Web Design and Development companies:
Students and Teachers:
Fireworks CS 6
Fireworks is a rapid web design software tool specifically built for web designers. We highly recommend using Adobe’s Fireworks CS6 for the creation of well designed and optimized web sites. Further more if you are new to web design then there is no better place to start learning web design than Fireworks since the learning curve involved is the least among all available top web design software. We use Fireworks to rapidly design web site layouts, logos, banners, e-cards, print and graphic designing. Fireworks is great for optimizing images and exporting them to GIF or JPEG format for the web, as it lets you balance maximum image quality and minimum compression size with precise control. Features that stand out include:
Exporting website prototypes to Dreamweaver and directly pasting Fireworks objects into it.
Creating pop-up menus that can be saved as CSS and HTML.
Easy creation of advanced vector effects using the comprehensive path panel, 3D autoshapes, special commands, etc.
Exporting Fireworks (PNG) files directly to Flash Professional while maintaining vectors, bitmaps, animations, and multistates.
Fireworks core features of: Creating animated GIFs, swap images, rollovers, horizontal and vertical drop-down menus or flyouts, auto shapes and many other cool stuff.
To discover more read our Fireworks Tutorials for website design.
Buy standalone software
Fireworks CS6 is included in Adobe Creative Suite 6 Design and Web Premium and Adobe Creative Suite 6 Master Collection
Top
Dreamweaver CS 6
We recognize Adobe Dreamweaver as the best web development software tool available today. If you are looking for an easy-to-use rapid web development software to design, program, manage, update and publish cutting edge professional web sites with ease and consistency, look no further Adobe Dreamweaver CS6 is all this and more!
Dreamweaver generates valid HTML/XHTML code for you, so you don’t have to be an expert programmer to develop a web site. This tool also generates code for web programming like dynamic forms and to link up to a database using almost all popular technologies like PHP, ASP, XHTML and .NET. Dreamweaver inbuilt extensions and downloadable extensions (functions created by other developers) are also supported; great when needed in a hurry or you cannot afford to build the functionality from scratch.
Cool web design effects possible using Dreamweaver include creating button rollovers, table and table-less CSS design with style sheets, seamless use of server side includes, dreamweaver templates and much more.
Tip: To buy Adobe Dreamweaver CS6 it’s best to buy it as part of Adobe Creative Suite 6 Design and Web Premium or the Adobe Creative Suite 6 Master Collection.
Buy standalone software
Read our Dreamweaver Tutorials for website design
Top
Photoshop CS 6
Adobe’s Photoshop CS6 is a top-quality professional photo editing tool that creates fantastic effects! This design software is ideal for photographers, graphic designers, and seasoned web designers. Adobe Photoshop CS6 software includes automated tools that slash the time needed for selecting and compositing and live filters that boost the comprehensive, nondestructive editing toolset of Photoshop. Additionally a streamlined interface and timesaving tools make your work flow faster. The advanced version of Photoshop CS6 is the Adobe Photoshop CS6 Extended software that additionally enables you to introduce 3D effects into your 2D composites, making it the ideal design software choice for film, video, and multimedia professionals. Photographers can efficiently manage thousands of images by using together with Photoshop CS6.
Tip: To buy Adobe Photoshop CS6 it’s best to buy it as part of any Adobe Creative Suite 6 (Design Standard, Design & Web Premium or Master Collection)
Buy or standalone software
Top
Flash Professional CS 6
Thousands of web developers worldwide would agree with us that Flash Professional is the single most popular design software for web site animation. Flash is very popular in web designing because you can do fantastic animations while still keeping the file size low and so that sites can load fast. There is also a huge online community of Flash developers so if you have questions or need resources like articles, tutorials, sound loops, flash files – it is all readily available on the Internet. The immensely advanced features of Flash Actionscript has given an absolutely new angle to web animation.
Note: Adobe Flash Professional was initially introduced as for advanced ActionScript programmers and there was a seperate simplified version called Adobe Flash for those who didn’t do heavy programming – this version is not supported anymore. With the introduction of Flash Catalyst its much easier to work with Flash.
Tip: To buy Adobe Flash Professional CS6 it’s best to buy it as part of Adobe Creative Suite 6 Design and Web Premium or the Adobe Creative Suite 6 Master Collection.
Buy standalone software
Read our Flash Tutorials: Flash Animation & Actionscript Tutorials.
building a website on dreamweaver
When starting out with website development, you’ve probably heard about WYSIWYG (What You See Is What You Get) editors. The temptation to build a website with no coding knowledge sounds appealing and might have led you to look for a Dreamweaver tutorial on the internet.
When using Dreamweaver for the first time, however, it can be intimidating. Worry not, this article will cover all there is to know on how to make a website using Dreamweaver. Let’s get started with the Dreamweaver tutorial.
Download eBook: Build Your First Website in 9 Easy Steps
What Is Adobe Dreamweaver CC?
Distinguishable Features
Beginner Friendly Visual Interface
Powerful Built-in Code Editor
Nothing Is Perfect
Dreamweaver Pricing Overview
Dreamweaver Tutorial Building a Website
- Create a New Site
- Create the Homepage File
- Create a Header
- Add a Home Navigation
- Add Website Description
- Create a CSS File
- Create a CSS Selector for the Website Title
- Change Title Font
- Align the Title to Center
Building a Website Using a Dreamweaver Template - Choose the Template
- Change the Logo and Header Text
- Change the Header Background Color
Preview Your Site on Mobile
Publishing Your Site Live - Create a New FTP Connection
- Fill Out the Connection Details
What Is Adobe Dreamweaver CC?
Adobe Dreamweaver CC Homepage
Adobe Dreamweaver CC is a famous website builder and deployment tool, and is considered a flawless execution between a WYSIWYG and other, more conventional HTML editors. Macromedia firstly developed Dreamweaver, then it was acquired by Adobe Inc., back in 2005.
Dreamweaver initially used a perpetual license, a one-time payment for using the software but later changed to a subscription-based model with the Adobe Creative Cloud structure.
Adobe Dreamweaver CC is an integrated development environment (IDE) software, meaning it provides comprehensive tools and support for development purposes. With the Creative Cloud structure, you can opt to include other Adobe’s creative software to boost your productivity.
Dreamweaver allows you to build and design a website visually using the drag and drop method which allows you to move elements in the designer dashboard. You can also use it like any traditional code editor — coding only with text, and instantly uploading the website to your server.
You’ll also get a bunch of learning materials and resources, and a dedicated Adobe community forum that helps answering whatever questions you have about the product. It also supports 15 different language locales. What is more, if you are looking for a Dreamweaver tutorial, you will find plenty on the web.
These features position Dreamweaver as a hybrid between a Content Management System (CMS) and a pure code editor.
Distinguishable Features
Being a part of the Adobe creative ecosystem has already distinguished Dreamweaver from other visual-based code editors. Dreamweaver has access to assets and perks that only Adobe could offer. Still, here are the two most dominant features:
Beginner Friendly Visual Interface
Beginner-friendly interface to create a new document
Adobe Dreamweaver CC is easy to use, but, at the same time, hard to master. Your site is only as good as your skills. Meaning, while the software offers a lot of web development features, with basic or limited knowledge, you can’t use those features to the fullest.
Despite that, beginners can start building a website thanks to its visual editor. There are drag and drop features to insert HTML elements on your project, and you can instantly see any changes you make on the website. A simple Dreamweaver tutorial will help you to get started.
It also helps you understand which part of the element that you’re currently working on. As in the example, when you click on the title, it highlights the respective code in the editor.
Easy to understand workspace
Powerful Built-in Code Editor
Another important aspect of Dreamweaver is the powerful built-in code editor. If professional developers want to code in a text editor, they can do that. Some of its key functions include:
Syntax highlighting. To help reading the code easier, it will highlight different elements like variables, ID, class, and others
Code completion. Increase your productivity with automatic code completion. For example, simply type img and hit tab on your keyboard to insert
CSS documentation. Whenever you need references for CSS properties, there’s a Quick Docs feature that will pop up with relevant information right in the code editor
Apart from that, other important features include:
Bootstrap 4 ready. The latest version of the HTML, CSS, and JavaScript framework for developing a responsive website
Git support. Perform all common Git operations including Push, Pull, Commit, and Fetch right from your Dreamweaver dashboard
Real-time browser preview. See change on your website while editing it in real time
Creative Cloud Libraries. Access colors, graphics, and other creative assets in the database
Chromium Embedded Framework (CEF) ready. To help developers embed browsers to use in a third-party application
Nothing Is Perfect
Nevertheless, Adobe Dreamweaver CC also has its drawbacks. Like briefly said above, this software is only as good as your skills. So even though the live interface helps beginners to build a website, you’ll probably need more time to create a really sophisticated one.
Despite all the information provided, Dreamweaver still has a steeper learning curve. You’ll need to invest a considerable amount of time to grasp all of its features fully. So if you expect to read a Dreamweaver tutorial and become a pro – you will be disappointed.
Additionally, it’s a paid service which doesn’t come cheap. So for a hobbyist developer, Dreamweaver probably is not the best tool to use.
Pro Tip
If you feel like Adobe Dreamweaver CC is not your thing, you’re not alone. In fact, some 33% of websites on the internet use WordPress, and you can create your own website easily too. It’s even better if you’re on Hostinger, our 1-Click Installation feature will do that for you.
Dreamweaver Pricing Overview
As a subscription-based software, Dreamweaver offers a range of plans for the individual user. The prepaid plan for the single app plus 100GB of cloud storage, Adobe Portfolio, Fonts, and Spark costs $239.88 annually.
And the all-apps option that includes the entire collection of 20+ creative software including Photoshop CC, Illustrator CC, and Adobe XD CC will cost you $599.88 a year.
Here’s the full plan available for individuals:
Adobe Dreamweaver CC pricing overview for individuals
Though, you can also have a taste using Dreamweaver for seven days in a free trial. Just download the app and sign up with your email, Facebook or Google account.
Let’s start with a basic Dreamweaver tutorial and learn how to create a homepage.
Dreamweaver Tutorial: Building a Website
- Create a New Site
In your Adobe Dreamweaver CC dashboard, go to Site -> New Site and a window will pop up.
Create a new site from Dreamweaver
The first step is to name your website and save it in a single folder. This helps to organize the files and will make the uploading process easier.
If you want to include images in your site, you can do so by navigating to Advanced Settings -> Local Info. The images folder should also be created within your site’s folder.
Creating images folder in Dreamweaver
Click Save when you finish.
- Create the Homepage File
You’ll get a blank workspace at the moment. But, take a look at the top-right panel, your site’s files should be there. Now, we will create the homepage file from scratch.
Go to File -> New and choose New Document. Select HTML as the document type and click Create. Giving a title to the document is optional.
Create a new document for your site
You’ll be directed back to the workspace and have a white page with several lines of HTML code. This is actually the live view of your website. Save that HTML file as index.html, and place it within the site’s folder.
Save the index.html file to your site’s folder
- Create a Header
We’re going to create the header for the website. This is usually the logo and the name of your site.
Click on the white page or choose a specific place within the element on the editor. Go to the top-right panel and click Insert. This will give a list of common HTML elements that you can add to your page.
Search for the Header element.
Click or drag-and-drop it to your workspace, and it will add to your website along with its code.
Adding header element in the document
Next, we’ll turn the header into a heading with
…
tag. This is for SEO purposes and to inform the search engine what is your site about. Mark the text in that section and go to Insert panel. Search and click the Heading: H1.
After that, change the text to your website’s title. It has to be something descriptive and representative. Here, we’ll use “Welcome to The Development Site.”
Adding h1 tag and change the website’s title
- Add a Home Navigation
To add a navigation button, add a line after the header by pressing return or enter. Now go to Insert panel and search for the Navigation element. When you click it, a window will pop up. Write navigation as the ID and click OK.
Insert navigation as the ID
This will add a navigation element to the editor. While you’re in the element content, look for a Hyperlink in the Insert panel. Click it and fill the details as follow:
Inserting hyperlink details
Important! The link will correspond with the page you’ll navigate into on your website. Currently, we only use a hashtag to fill the void.
When you finish, click OK. Now it is a clickable home button and has more code line added on the editor.
Adding navigation button to the website
Conclusion
Let us know your thoughts in the comment section below.
Check out other publications to gain access to more digital resources if you are just starting out with Flux Resource.
Also contact us today to optimize your business(s)/Brand(s) for Search Engines