Are you ready to create your new site with Html Web Design Software Free?
You’re not alone. This guide will help you get the most out of the product.
Html Web Design Software Free is a free, easy-to-use open source web design software that lets you create websites for just about anything: blogs, business, school, and personal pages.
Html Web Design Software Free
Code libraries, development environments, and hosting services allow developers to launch their websites and share them with the world.
Take a look at some of the best tools for this purpose.
1. WordPress (Free and Paid)
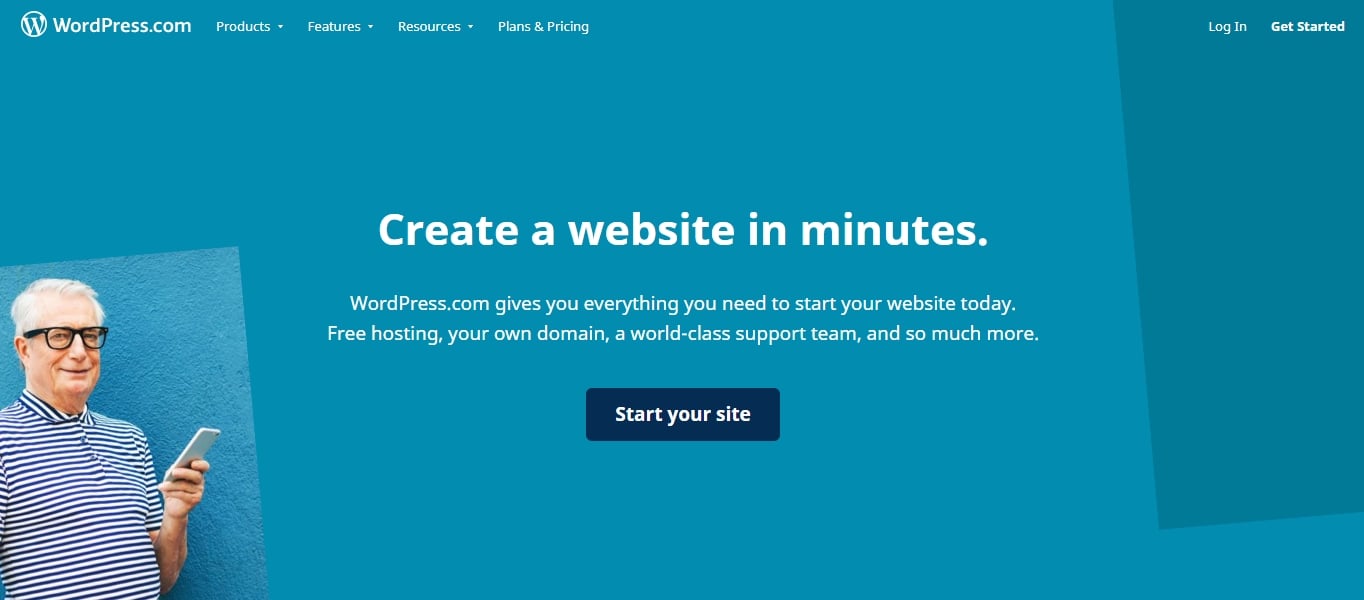
Here at websitesetup.org, we recommend people use WordPress to create their websites.
Why?
Through our experience creating hundreds of sites, we’ve found that WordPress offers the best combination of flexibility, power, and ease-of-use necessary to build and launch content-based websites.
And it seems like the internet agrees with us! Over 35% of all websites run on WordPress. WordPress powers popular blogs, e-commerce stores, communities, and more.
To get started with WordPress, you have two options:
- Set up a self-hosted WordPress site (WordPress.org)
- Sign up for a free WordPress.com account
If you’re just looking to host a small personal site, WordPress.com may be a great choice. However, if you’re starting a more complex project a self-hosted WordPress site is probably a better option.
If you are already using WordPress, but looking for help creating a WordPress theme or customizing WordPress pages, we recommend checking out the Genesis Theme Framework and the Elementor Page Builder.
2. Bootstrap (Free)
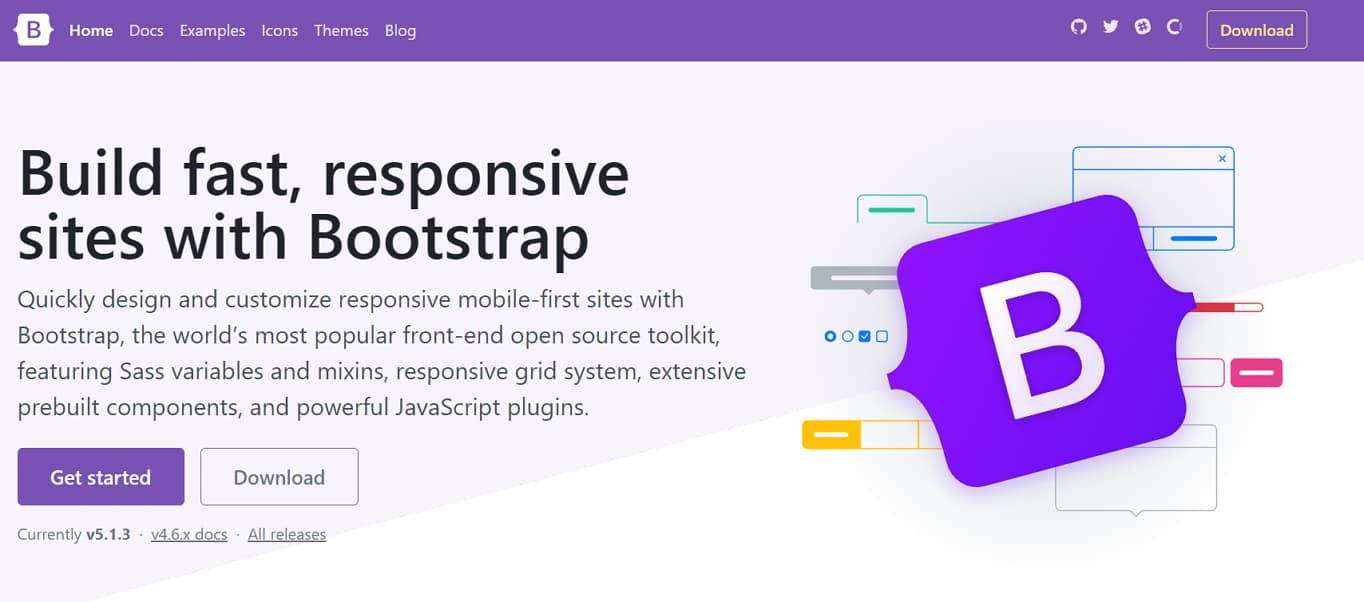
Originally created by the engineering team at Twitter, Bootstrap is now the world’s most popular framework for building responsive, mobile-first websites.
Put simply, Bootstrap is a free library of HTML, CSS, and JavaScript that simplifies the process of coding a website from scratch. Bootstrap offers dozens of features like a grid system, responsive breakpoints, and a large library of components that make coding a website quick and easy.
The component library includes headers, navigation, buttons, forms, alerts, and more. The Bootstrap team has comprehensively documented each feature, complete with examples and suggestions for customization.
To get started with Bootstrap, simply download the latest version of the Bootstrap framework, copy one of the example templates, and start coding.
3. Wix (Free and Paid)
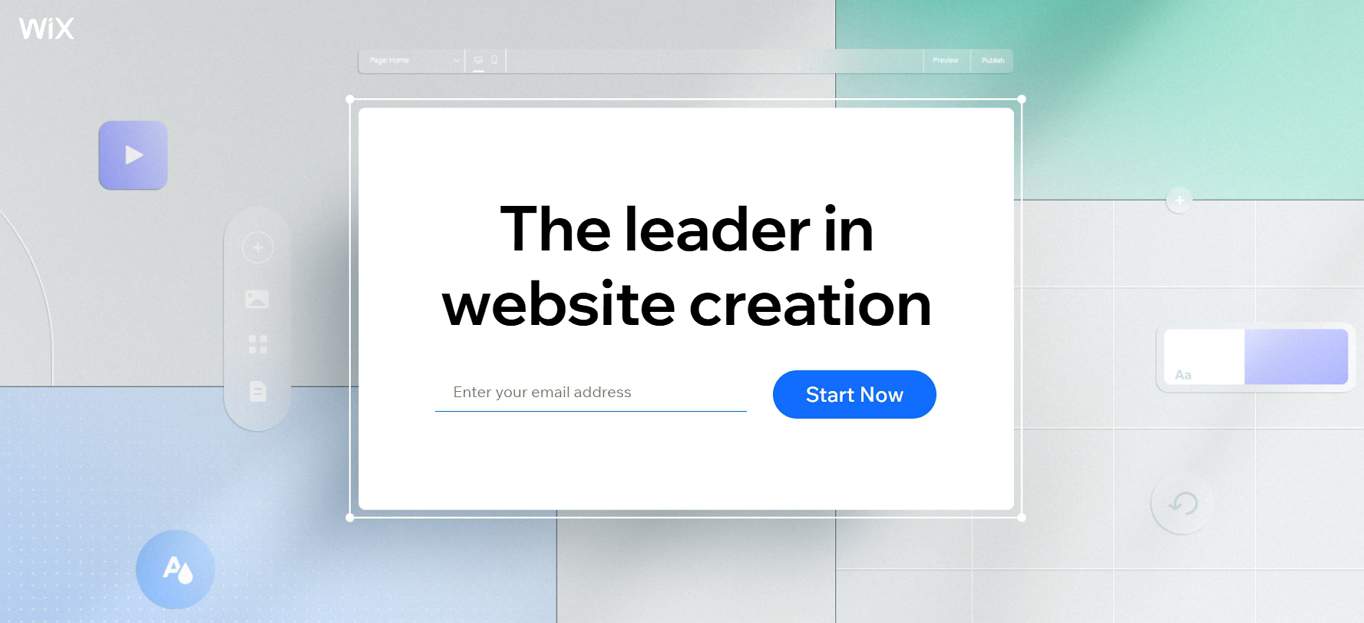
Wix is an easy-to-use, affordable alternative to WordPress.
Much like WordPress, Wix can be used to create a variety of different sites, including blogs and stores. Through its drag-and-drop editor, Wix makes it simple to set up and launch your site in just a few minutes.
Wix is a fully-managed subscription service, meaning that the company handles all the details around hosting the site, backing it up, and handling security.
Wix offers a free, ad-sponsored plan that includes hundreds of templates and options to choose from. Paid plans start at $14 per month and include ad removal, increased bandwidth, and additional space for videos.
4. Dreamweaver (Free Trial)
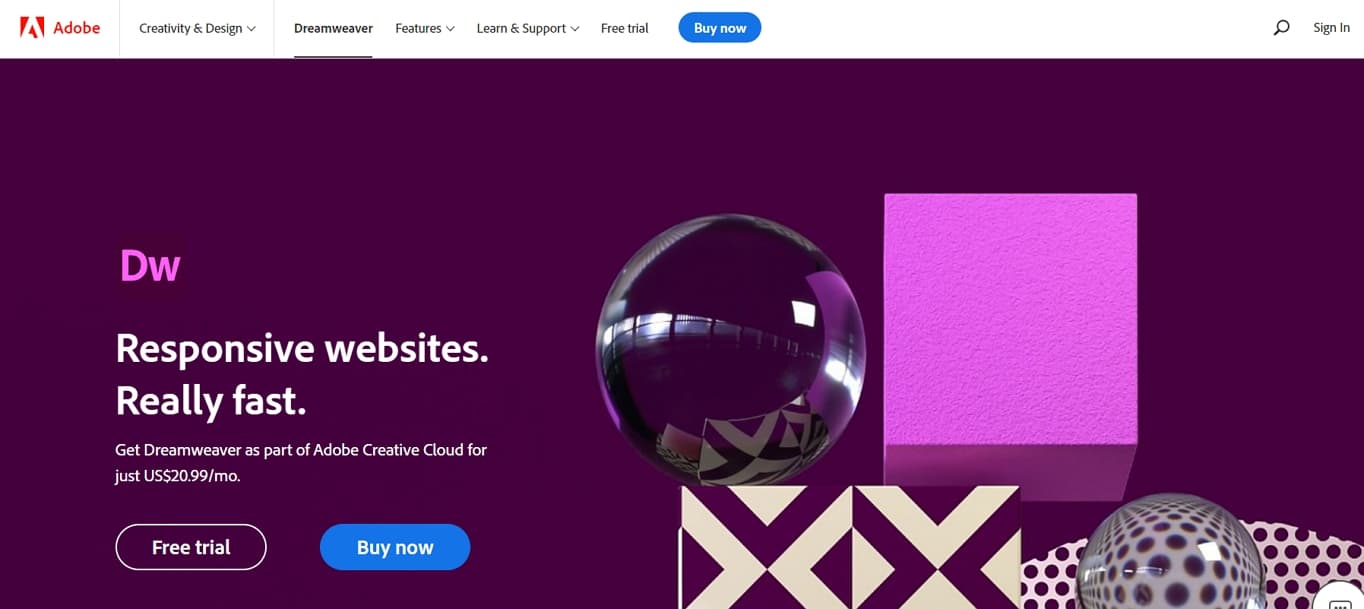
Dreamweaver is Adobe’s application for coding, editing, and maintaining websites. It lets you edit websites both by coding them manually and through an intuitive visual interface.
Dreamweaver includes many of the features of a traditional, text-based Integrated Development Environment (IDE) like syntax-highlighting, automatic code completion, and the ability to collapse and expand sections of code. You can even use Dreamweaver with Bootstrap!
Unlike a traditional IDE, however, Dreamweaver’s visual interface is what makes it really stand out. Any changes you make in your website’s code are automatically displayed in real-time in Dreamweaver’s interface, and you can also point and click to edit your website’s code visually.
If you’d like more power than a simple drag-and-drop editor, but need something simpler than a code-only IDE, Dreamweaver is a fantastic option.
You can subscribe to Dreamweaver on its own for $20.99 per month or choose a subscription to Adobe’s full Creative Suite for $52.99 per month. Adobe offers 7-day free trials for both options, and discounts for students are frequently available.
5. Squarespace (Paid)
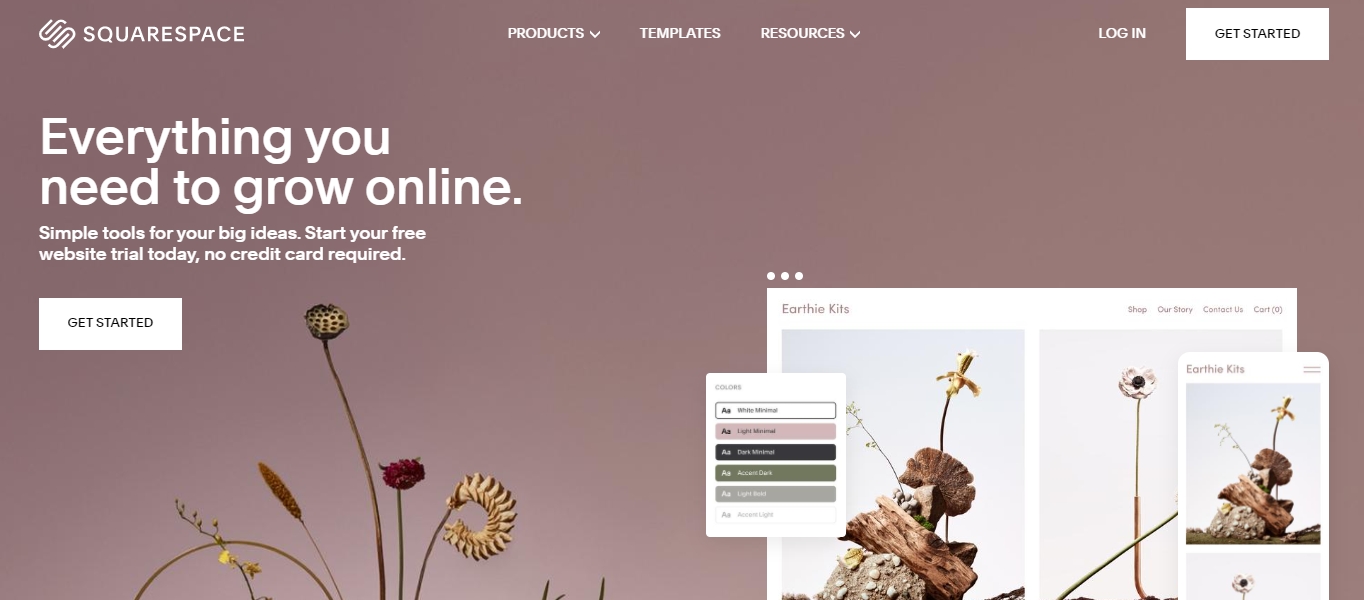
Squarespace is another good website builder that serves as a third alternative to Wix and WordPress.
Much like Wix, Squarespace offers an intuitive drag-and-drop interface for creating your website. Squarespace also offers a huge variety of different themes and color customizations and includes many of the standards you’d expect like SSL encryption and the ability to build an online store.
Squarespace’s personal plan starts at $14 per month with limits of 20 pages and two contributors. The business plan lifts these limitations and costs $23 per month.
Visit Squarespace.comFurther Reading:
- How to Use Squarespace (step-by-step)
Best Software for Interface Design & Prototyping
Interface design apps and prototyping tools help designers envision and communicate how websites will look and behave before they’re launched. Here are a few great candidates to consider.
6. Figma (Free and Paid)
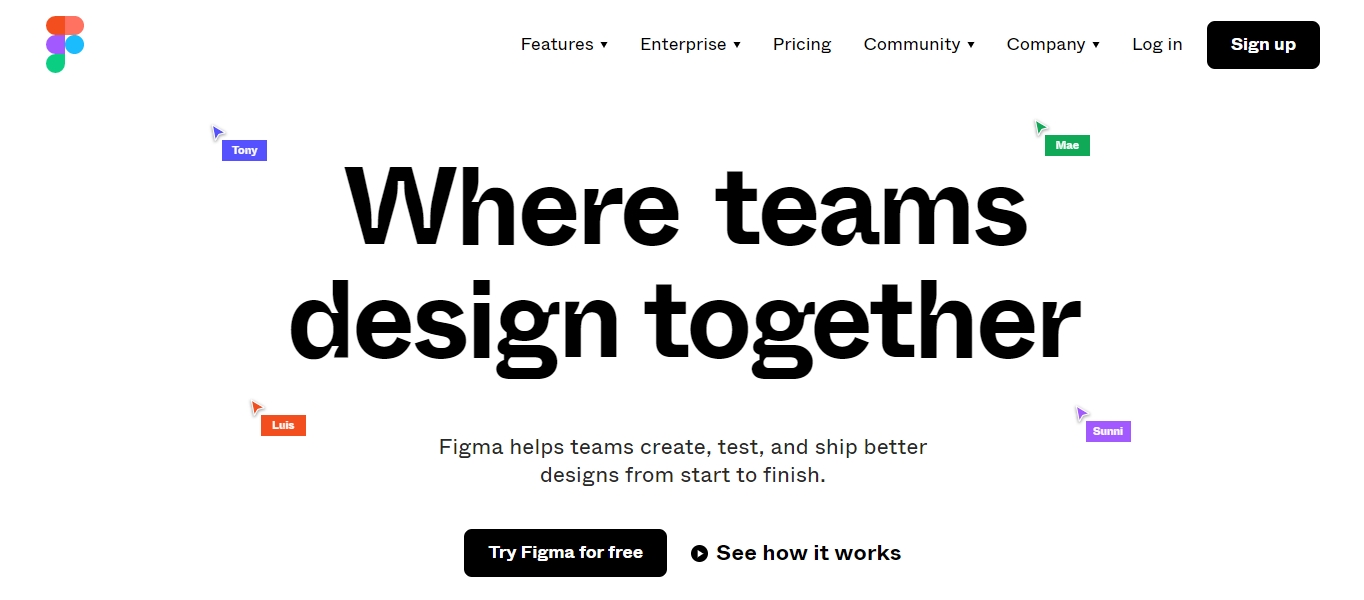
Despite being one of the newest tools on this list, Figma is also one of the most powerful. If you’re looking for a feature-loaded tool for interface design and prototyping, Figma may be the perfect fit.
Much like Sketch, the next app on this list, Figma features an intuitive, vector-based interface that makes designing websites simple. Anything you can do with Sketch or Adobe XD, you can also do with Figma.
What makes Figma really shine, however, is its collaborative, cloud-based approach. With Figma, multiple team members can edit a design file simultaneously. Business stakeholders can also leave comments, and developers can copy code snippets to simplify the process of turning your design into a real site.
Figma offers a free plan that includes up to 3 projects. Paid plans start at $12 per month and include advanced options like custom user permissions.
Visit Figma.com
7. Sketch 3 (Free Trial)
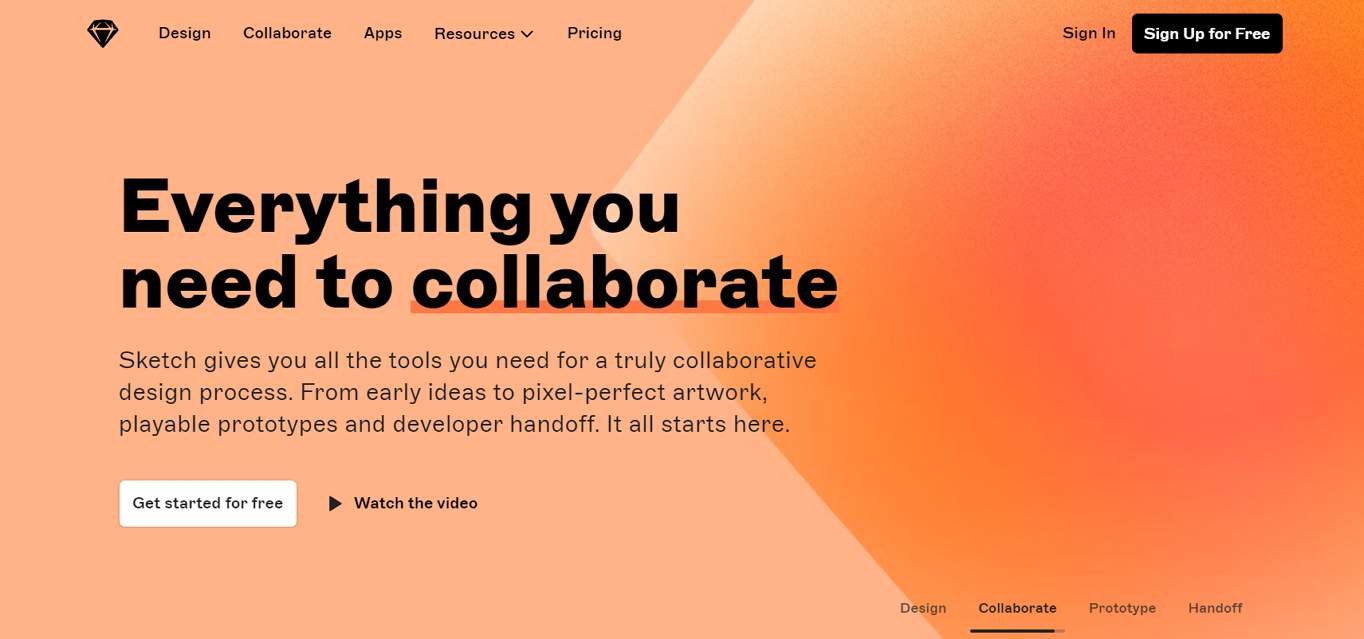
Sketch is an extremely popular interface design tool focused on simplifying the process of creating beautiful, high-fidelity mockups. Sketch gained popularity in the early 2010s when it won a design award from Apple.
Designers love Sketch because its uncluttered and intuitive interface makes it easy to create beautiful designs quickly, without the steep learning curve often associated with other design tools. Sketch also has a comprehensive ecosystem of plugins and integrations that bring added power and make it simple to integrate Sketch into your workflow.
While Sketch has recently added some features focused on prototyping and collaboration, the program isn’t as advanced in these areas as some of the other tools on this list.
Sketch is available for macOS and costs $9 per editor, monthly (or $99 per editor, annually). Sketch comes with a 30-day trial.
Visit Sketch.com
8. Adobe XD (Free Trial)
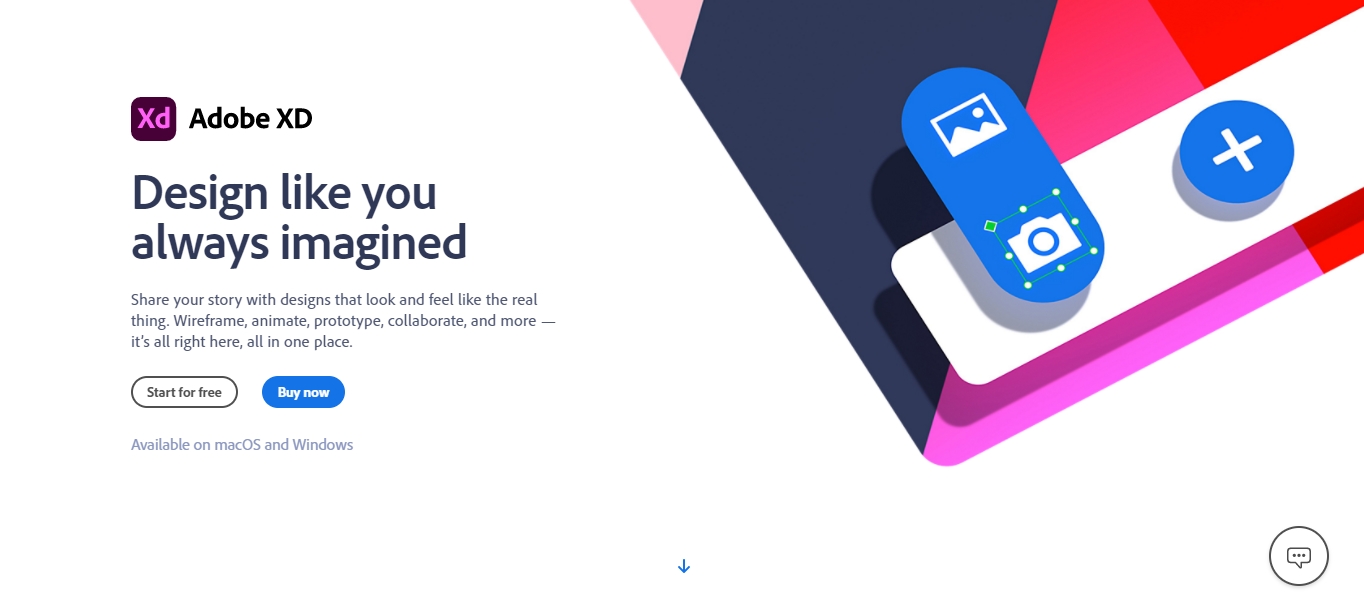
Tired of being beaten out by simpler tools that were better-suited to interface design and prototyping, Adobe released XD in 2019 as its answer to the other tools on this list.
XD is a powerful, vector-based tool that also supports prototyping animations. If you like Adobe’s other products like Photoshop and Illustrator, chances are you’ll also like XD.
The program also supports opening and editing files from Sketch, making it a popular choice for Windows users who need to collaborate with other designers who use Sketch. That said, novices may find XD’s learning curve a bit steep, and even many professionals prefer other tools on this list.
You can subscribe to XD on its own for $9.99 per month or choose a subscription to Adobe’s full Creative Suite for $52.99 per month. Adobe offers 7-day free trials for both options.
Visit adobe.com/products/xd
9. InVision Studio (Free and Paid)
While InVision got its start offering a cloud-based prototype service that integrates with tools like Sketch and Photoshop, it now offers its own full-featured interface design and prototyping tool called Studio.
Think of InVision Studio like an advanced version of Sketch, complete with advanced motion animations, collaboration tools, and options to create and share prototypes.
InVision Studio is currently in free beta. To share prototypes using its cloud service, you can opt for a free plan or upgrade to one of InVision’s paid offerings, which allows for more collaborators and projects.
Visit InVisionapp.com
10. Framer X (Free Trial)
Framer originally started as a JavaScript library and toolset for prototyping, but it’s evolved into the most powerful tool on this list.
Framer X is a rapid prototyping tool that supports complex animations and generates the code for React components on the fly. At first glance, Framer’s vector-based interface looks extremely similar to Sketch, but there’s far more power under the hood.
Designers like Framer for its responsive design features, an array of premade components, and support for advanced animations. Developers love it because it simplifies the process of turning a design into production-ready code.
If you’re already part of the React ecosystem, or if you simply want a powerful interface capable of creating high-fidelity prototypes with realistic interactions and animations, Framer X is a fantastic option.
Framer X offers a free plan for up to two editors. Framer’s paid plans start from $20/month.
Visit Framer.com
Best Software for Graphic Design
Photo-editing and graphic design tools allow designers to manipulate images and create graphics. Here’s our top pick of the best graphic design tools.
11. Adobe Photoshop (Free Trial)
If you’re looking for a powerful, do-it-all graphic design tool, Adobe’s Photoshop has been the leader for decades.
While originally released purely for photo editing, Photoshop has evolved to support a variety of use cases, including interface design, video editing, and more, while remaining true to its photo-editing use.
While many designers prefer to work exclusively in Photoshop because of its flexibility, others prefer more specialized tools. Like Adobe’s other products, the learning curve is a bit steeper because of the vast array of tools and options Photoshop offers.
You can subscribe to Photoshop on its own for $20.99 per month or choose a subscription to Adobe’s full Creative Suite for $52.99 per month. Adobe offers 7-day free trials for both options.
Visit adobe.com
12. Canva (Free and Paid)
If you need a simple tool for creating graphics for social media posts, flyers, or business cards, Canva is a fantastic option.
Users love Canva for its easy-to-use, drag-and-drop interface. With thousands of templates and hundreds of design types, marketers and hobbyists can produce beautiful imagery in just a few clicks.
Canva offers a free plan with over 8000 templates. Pro plans start at $9.99 per month (up to five people) and include advanced features like the ability to export transparent PNGs and the option to resize a graphic for multiple use cases in just one click.
Visit Canva.com
13. Vectr (Free)
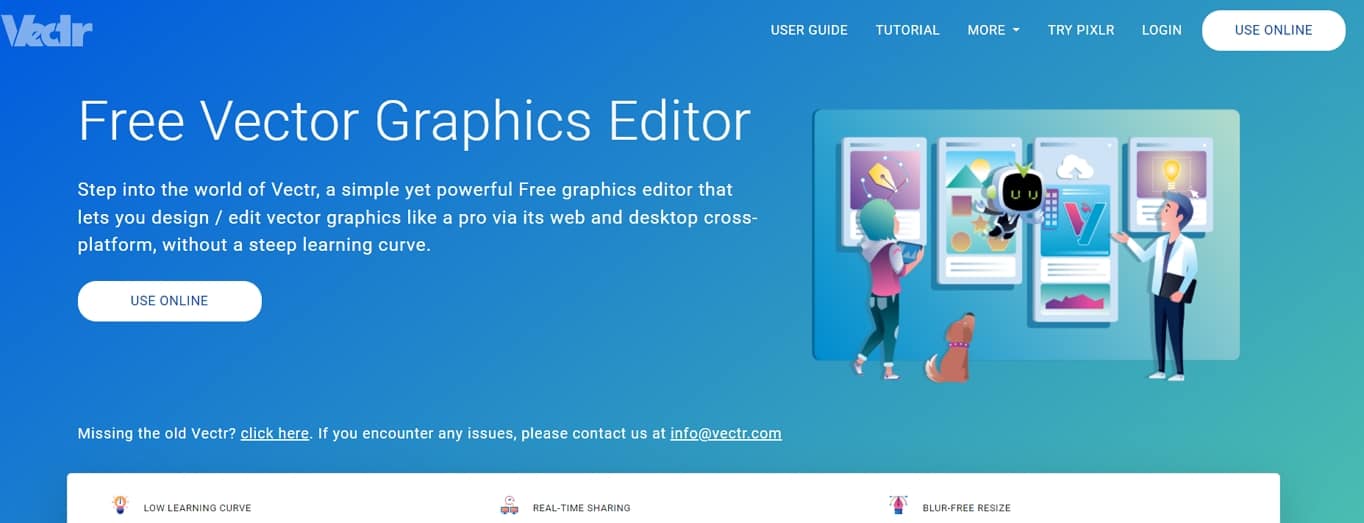
Vectr is a free, cloud-based illustration tool with features similar to Sketch and Adobe Illustrator.
If you want to create complex illustrations, or simply design a website or mobile app, Vectr offers everything you need to get started.
Vectr’s drag-and-drop editor is easy to learn, and since it’s cloud-based, it’s easy to share designs with others for feedback and collaboration.
Visit Vectr.com
14. Pixelmator (Free trial)
Much like Photoshop, Pixelmator is a feature-rich photo editor for macOS.
While you can use Pixelmator for illustration or interface design, it works best as a tool for editing and retouching photos, with features for color correction, retouching, and applying filters.
Pixelmator costs $39.99 and is available on the macOS app store. Pixelmator also offers a free, 15-day trial on its website.
Visit Pixelmator.com
15. GIMP (Free)

GIMP (the GNU Image Manipulation Program), is a popular, open-source photo editor that supports Windows, Linux, and macOS.
While the interface feels a bit dated, don’t let that fool you. GIMP packs quite a bit of power and is capable of nearly everything that Photoshop can do.
While the free price point is certainly appealing, GIMP isn’t the easiest tool on this list to learn or use day-to-day. Still, it’s a great choice for budget-conscious designers who need to edit photos or design interfaces.
html code for web designing
Learning how to begin coding a website can be a tough task. If you’re not familiar with coding languages, it’s even harder. But learning how to code a website is easy with the right guide.
In this tutorial, we’ll go over simple website design for beginners with an HTML web page template. They’re the easiest way to code a website. It’s a process that will save you time in the long run, while letting you create a professionally designed website for your visitors!

We’ll be using a template from Envato Elements in this web design code tutorial. If you want to browse other web design template options, look through the Envato Elements collection of website design code templates. You’ll find professional, responsive options that are ready to customize for your next project.
Before We Start Our Web Design Code
You’re probably excited to learn how to begin coding a website. But looking at code can be intimidating if you’re a beginner. So before we dive in, let’s have a look at some useful terms to know so you can understand the changes you’re making in the below steps to code a website.
- HTML: Hypertext Markup Language is a language that organizes web pages. Things like text and links are added here. In this tutorial, we’ll be working with HTML.
- Tags: Tags are how code works in HTML. They are written between angle brackets. One tag opens (i.e.
<title>) and another closes (i.e.</title>). Text content goes between the opening and closing tags. - PHP: A server-side scripting language which is mostly used to build web-based applications. You’ll see it used to collect data. Almost all contact forms work with a PHP file.
- Comments: Comments are notes left by the writer of the code. These don’t change anything about the page, but they let you see what the code is supposed to do.
What We’ll Need
If you want to follow along with this simple web design code tutorial, you’ll need a couple of things:
- Okno—Ultimate Multipurpose HTML5 Template. We’ll be editing a personal landing page from this HTML web page template.
- Sublime Text editor. Sublime Text is what we’ll use to edit the markup.
- Chrome, Safari, Firefox, or another web browser. You’ll need your browser to make sure your changes work properly

Do you have everything you need? Then let’s get started!
1. Edit the Title and Header
We’re working on the index-onepage-personal.html file in this tutorial. It’s a simple website design for beginners to work on. Open it in Sublime Text and your browser after extracting the Okno ZIP folder. Sublime Text will let you edit the HTML code for website design, and your browser will let you see the changes in real time.
In Sublime Text, find the title tag under the title comment. This changes the name that appears on the tab or window of the page. It will look like this in the simple website HTML code:
| 12 | <!-- Title --><title>Okno - Ultimate Multi-Purpose HTML5 Template</title> |
Replace the text with the name of your site. Since this is a personal one-page website template, this will most likely be your own name. Save the file in Sublime Text, and refresh the page in your browser. You’ll see the changes in the tab at the top of the window:

Let’s move on to the navigation bar of this simple website design for beginners. This bar is visible as visitors scroll, and it also includes a spot for a logo on the left. To change the logo, find the Logo comment and edit these lines of code:
| 12345 | <!-- Logo --><a class="logo-wrapper" href="index.html"> <img class="logo logo-light" src="assets/img/logo-light.png" alt="Okno"> <img class="logo logo-dark" src="assets/img/logo-dark.png" alt="Okno"></a> |
Both lines are for your logo, but for different parts of your web design code page. The top line is for a light logo against a dark background. The bottom line is for a dark logo against a light background. This is to make sure your branding is visible on the page.
Place copies of your logo in the img folder found inside the assets folder. Change the file names in the website design code (logo-light.png and logo-dark.png) to match the file names of your logo.
Note: your logo should be in the PNG file format with a transparent background. Also note that the alt attribute is very important for your webpage in case the photo doesn’t load or a visitor is using screen-reading software. Give an alternate description for all your images while working on this simple website HTML code tutorial.
In this website design code template, the navigation bar represents different sections of the one-pager. If you don’t want to rename these sections, feel free to skip ahead.
Under the primary menu comment, you’ll see the names of each section. Edit the text between the a tags under the Primary Menu comment rename the links in your navigation bar.
| 010203040506070809101112 | <!-- Primary Menu --><div class="module menu left"> <ul id="nav-primary" class="nav nav-primary"> <li><a href="#home">Start</a></li> <li><a href="#services">Services</a></li> <li><a href="#skills">Skills</a></li> <li><a href="#experience">Experience</a></li> <li><a href="#testimonials">Testimonials</a></li> <li><a href="#works">Works</a></li> <li><a href="#contact">Contact</a></li> </ul></div> |
Save the simple website HTML code for this web design project and refresh to see your changes.
2. Update Your Personal Information
Now it’s time to start editing your information in the web design code.
Let’s look at the section starting with the Section / Home comment. What can be changed here? We can replace the background image and avatar. You’ll also be able to add your name, job title, area of expertise, and other information.

Let’s start by changing the images. You can edit the background photo from the bg-image div and the avatar from the img tag within the container v-center div. Unlike altering text, you’ll need to make changes to the img tag itself through the source attribute. The src attribute tells the webpage where the photo can be found.
If we look at the src attribute for the background photo, we can see where to find the image. In your Finder or File Explorer, head to assets > img > photos to find the image file yourself.
To change the background image in your simple website HTML code, have a replacement JPG ready with the exact dimensions of the original file. Give your photo a simple name and place it in the photos folder. Now change the name in the src attribute, and save.
If you don’t have a replacement photo ready but want to change the background, head to Envato Elements. You can find a stock photo or cool graphic to use. For this simple website design for beginners tutorial, I’ll be using one of these stock background photos.

Changing the avatar is the same process. Drop your headshot in the avatar folder within the img folder. Replace avatar01 with the name of your photo. Save the simple website HTML code for this web design project in Sublime Text and refresh your browser to see how it looks now.
Advertisement
Change the Name and Bio
Editing your name and bio takes a few simple steps. Find the H1 tag within the col-md-9 div, and add your name. On the line below, type in your job title.
| 12 | <h1 class="mt-20 mb-0 text-lg">Mike Lee</h1><h3 class="lead text-muted mb-40">Professional Front-End Developer</h3> |
There are three Description Lists under the Section / Home comment. They’re defined by the dl tag. They are where you can briefly add more professional information. As you can see in your browser, the default fields are Specialty, Born Date, Previous Company, Years Experience, and Current Company. If you want to share this information, edit the dd tags within each dl. If you’d like to change this entire section, you’ll need to change the dt tags within each dl tag.
| 12345678 | <div class="col-sm-4"> <dl class="description-2"> <dt>Speciality</dt> <dd>Front-End Development</dd> <dt>Years experience</dt> <dd>6+</dd> </dl></div> |
Made your changes? Save the simple website design HTML code file, refresh the page, and see your changes.

Notice that you can have visitors download your CV or resume by clicking a button. To set this up, we’ll first create a folder titled cv within the assets folder. Then, we’ll put our CV in this new folder.
Now let’s look at the HTML and figure out how to make this work. Head to the Download CV line in the sample code for website design:
| 1 | <div class="col-sm-4"><a href="#" class="btn btn-primary btn-filled btn-block">Download CV</a></div> |
We are going to replace the # in the href attribute with assets/cv/name-of-cv-file.extension. To make the CV downloadable, add the download attribute after the href attribute. The line in your HTML code for website design should now look like this:
| 1 | <div class="col-sm-4"><a href="assets/cv/my-resume.docx" download class="btn btn-primary btn-filled btn-block">Download CV</a></div> |
Save the HTML code for this web design project and test it out in your browser. Note that for now you’ll only be able to open the file from the button. But once your website goes live, visitors will be able to download your resume.
3. Services Section
Let’s add the services we offer to our HTML code for website design. If you changed the name of this section, or any other sections, in Step 1, you can still follow along with the rest of the tutorial. Just make sure to change the h6 tag in each step.
Change the name of the first service with the Mobile Apps h5 tag. This can be any service you offer. On the following line, give a brief description of your service in the p tag. Save the website design code file and see the changes in your browser.
Looks like we might run into a problem. If you changed the name of the service, the mobile app icon no longer matches up. That’s not a problem. Okno uses Themify Icons. These are free web icons for personal and commercial use.
Search for a matching icon from the Themify link above. Add the name of the icon’s attribute in the i tag. For this example, I will use the ti-shortcode icon. Let’s see how that looks now:
That’s better. Repeat this process for the rest of your services to edit the Desktop Apps, Graphic Design, HTML/CSS Development, and AngularJS lines of the sample code for website design.
4. Add Your Skills
This is a well-designed section in this simple website design for beginners. As you can see in your browser, the skills section has a meter to show your proficiency. This can be edited in the web design code under the Skills comment.
You can change the skills that you want visitors to see. The names of these skills are found in the strong tag under the Section / Skills comment.
How good are you at performing this skill? To show this off on your site, we need to backtrack to the progress-bar div. Within the div tag, we are going to edit the aria-valuenow attribute, as well as the style attribute. These values will use the same number to represent your skill level out of 100. If you’d like to put 97 out of 100, make that change in both attributes. Your changes should match the code below.
| 123456 | <div class="mb-40"> <div class="progress progress-2"> <div class="progress-bar" role="progressbar" aria-valuenow="97" aria-valuemin="0" aria-valuemax="100" style="width: 97%;">97%</div> </div> <strong>Adobe Photoshop</strong></div> |
Save and refresh your browser window to see your new skills! You can repeat this step to finish the rest of your skills section in your web design code.

Advertisement
5. Education and Job Experience
This is the section in our web design code that lets us add education and job experience.
We’ll edit the three tags within the event class div. The first line lets us edit the date, the following line is for the title of your education or work experience, and the final line is for the location. So if I wanted to share my three-month rocket science course at NASA, I’d edit the code to look like this:
| 12345 | <div class="event"> <div class="date">15.02.2004 - 15.05.2004</div> <h5 class="mb-0">Rocket Science Course</h5> <span class="text-muted">NASA</span></div> |
You can repeat these steps for the other two event class div tags.

6. Testimonials
If you’re following these steps to code a website as a freelancer, then you know how important this section is. Testimonials from past customers, clients, and bosses go a long way towards persuading someone to trust you with their next project.
This section starts under the Section / Testimonials comment. These quotes have special formatting that we’re going to leave as they are. All we’re going to do is edit the text found in the div tag. If you have an exact quote you want to use, add it here. Use the strong tag to make parts of the testimonial stand out with bold text.
If you have a headshot of the person giving the testimonial, add it to the img tags in this Testimonial section. If not, feel free to remove that line of code. The following two lines of code let you finish the testimonial with the person’s name and job title.
| 010203040506070809101112 | <div class="col-sm-6"> <div class="testimonial testimonial-1"> <div class="quote"> These tutorials are <strong>excellent</strong>. I've learned so much. I can't wait to try more! </div> <div class="author with-image"> <img src="assets/img/avatars/avatar01.jpg" alt="testimonial author avatar"> <span class="name text-uppercase">Mark Johnson</span> <span class="caption text-muted">Envato Tuts+ user</span> </div> </div></div> |
Repeat these steps in your sample code for website design to finish this section.

7. Media
Do you have photos of your work that you’d like to share? You can have them ready for your simple website HTML code in this step.
Before we get started, it’s important to note that getting the exact dimensions of your photos is important for this section. Each photo must be exactly 640×563. Use Adobe Photoshop to resize your images. If you don’t have the program, you can use a free website like Pixlr or Photopea.
Once you have your pictures ready, let’s see how we can add them to our website. Find the Section / Works comment, then the img tags under the Media Item comments. We can change our photo with a familiar line of code. If we read this line, we can see that we need to have our photos within the works folder, which is found in the img folder. We’ll also need to change the file name so our website knows which photo to use.
| 1 | <img src="assets/img/works/gr-winter.jpg" alt="grand rapids in winter"> |
Let’s make these changes and save. Refresh your browser to see your photo.

You may notice that hovering over your photo shows a special effect. It looks as if we can leave a brief description of the project shown in the picture. Let’s take full advantage of this HTML web page template and add a brief description.
Backtrack to the h5 tags under the Media Item comments of the sample code for website design. On the first line, let’s leave the name of this project. In the second line, let’s add a related service that was needed to finish the project.
| 0102030405060708091011 | <div class="image-box image-hover bg-black text-center"> <div class="image"> <div class="hover dark"> <a href="#"> <h5 class="mb-0">Cityscapes</h5> <span class="text-muted">Photography</span> </a> </div> <img src="assets/img/works/gr-winter.jpg" alt="grand rapids in winter"> </div></div> |
If this work is available to see online, we can link to it. In the a tag under the Media Item comment, replace the # in the href attribute with the link to the webpage featuring your project. Try linking to Google to see how this works.
This section lets you share up to six projects. Follow the steps above for each piece of work you’d like to share.

8. Contact Section
Now is the time to set up the contact information in the HTML code for this web design project. This is an easy step to get done in your web design code.
We start by adding your headshot in the img tag under the Section / Content comment. This follows the same process that we talked about in the second step of this web design code tutorial.
Within the address tag under the Section / Content comment, we’ll add our address, phone number, and email address. Feel free to change the type of contact information you share by editing what’s within the strong tags.
| 010203040506070809101112 | <div class="col-sm-4"> <img class="img-circle mb-25" width="72" src="assets/img/avatars/envato-avatar.jpg" alt="envato avatar"> <address> <strong>Address:</strong><br> A795 Folsom Ave, Suite 600<br> San Francisco, CA 94107<br><br> <strong>Phone:</strong><br> +48 221 909 99<br><br> <strong>E-mail:</strong><br> <a href="#">your.name@example.com</a><br> </address></div> |
The contact form doesn’t need many changes. If you’d like to add a fun spin to the default text, just change the placeholder attributes found within the form tag. You can change the text of the button with the button tag.
| 0102030405060708091011121314151617 | <div class="col-sm-8"> <form class="contact-form validate-form" id="contact-form"> <div class="row"> <div class="form-group col-sm-6"> <input name="name" id="name" type="text" class="form-control bordered" placeholder="Name"> </div> <div class="form-group col-sm-6"> <input name="email" id="email" type="text" class="form-control bordered" placeholder="E-mail address"> </div> </div> <div class="form-group"> <textarea name="message" id="message" cols="30" rows="7" class="form-control bordered" placeholder="Message"></textarea> </div> <div class="row"> <div class="col-md-4 col-sm-6"> <button class="btn btn-filled btn-primary btn-block">Send it <i class="i-after ti-arrow-right"></i></button> </div> |
But will our contact form work? Not yet! We need to make a very quick edit to our PHP file. In your Finder or File Explorer, go to assets > php within the Okno folder. Then open the contact-form.php file in Sublime Text.
In this file, you’ll see the following line of code:
| 1 | $emailTo = 'example@mail.com'; |
Replace the example email with your own email address, and save the web design code file. Now, when a visitor completes the contact form, you will get an email telling you what they said.

9. Edit the Footer
This is the last of our steps to code a website. The footer of this one-page website features a copyright credit to the creators of the Okno web template and three links. You can remove the footer entirely, remove some elements, or edit the links. If you want to edit the links, I’ll walk you through how to do that.

Under the Footer comment of the sample code for website design, you’ll find the following list item:
| 1 | <li><a href="#">Sign Up</a></li> |
Within the href attribute, replace the # symbol with a link to a website you want to share. This change will let visitors go to that website by clicking on Sign Up. You can change this text to anything you’d like. Repeat this process for the next two list items.
Conclusion
Let us know your thoughts in the comment section below.
Check out other publications to gain access to more digital resources if you are just starting out with Flux Resource.
Also contact us today to optimize your business(s)/Brand(s) for Search Engines