Brainstorming is an essential part of any writers’ process, whether you’re writing a book, an article or a blog post. It helps to free your mind and figure out what your next steps should be. In our age of technology, brainstorming remotely isn’t as hard as it used to be.
Table of Contents
How Do You Facilitate A Remote Brainstorm
Organizing a brainstorming session doesn’t have to be daunting. With the right preparation, it can be extremely rewarding – and, believe it or not, pretty fun. But what do you do when it’s your turn to lead the meeting? With so many brainstorming techniques to choose from – and so many personalities and goals colliding in each brainstorm – it can be difficult to figure out where to start. So, start here!
What is online brainstorming?
Online brainstorming is the process of conducting a brainstorming session online, typically using technologies like an online whiteboard, video conferencing, and file sharing apps. Any time you want to generate ideas as a remote team, online brainstorming is one of the best ways to do it.
8 steps to prepare for your online brainstorm session
Every good brainstorm starts before the actual session. A few days before you plan to meet, block off your calendar to do some thinking and prep. You’re going to need online tools to facilitate your brainstorm if you’re working with a distributed team.
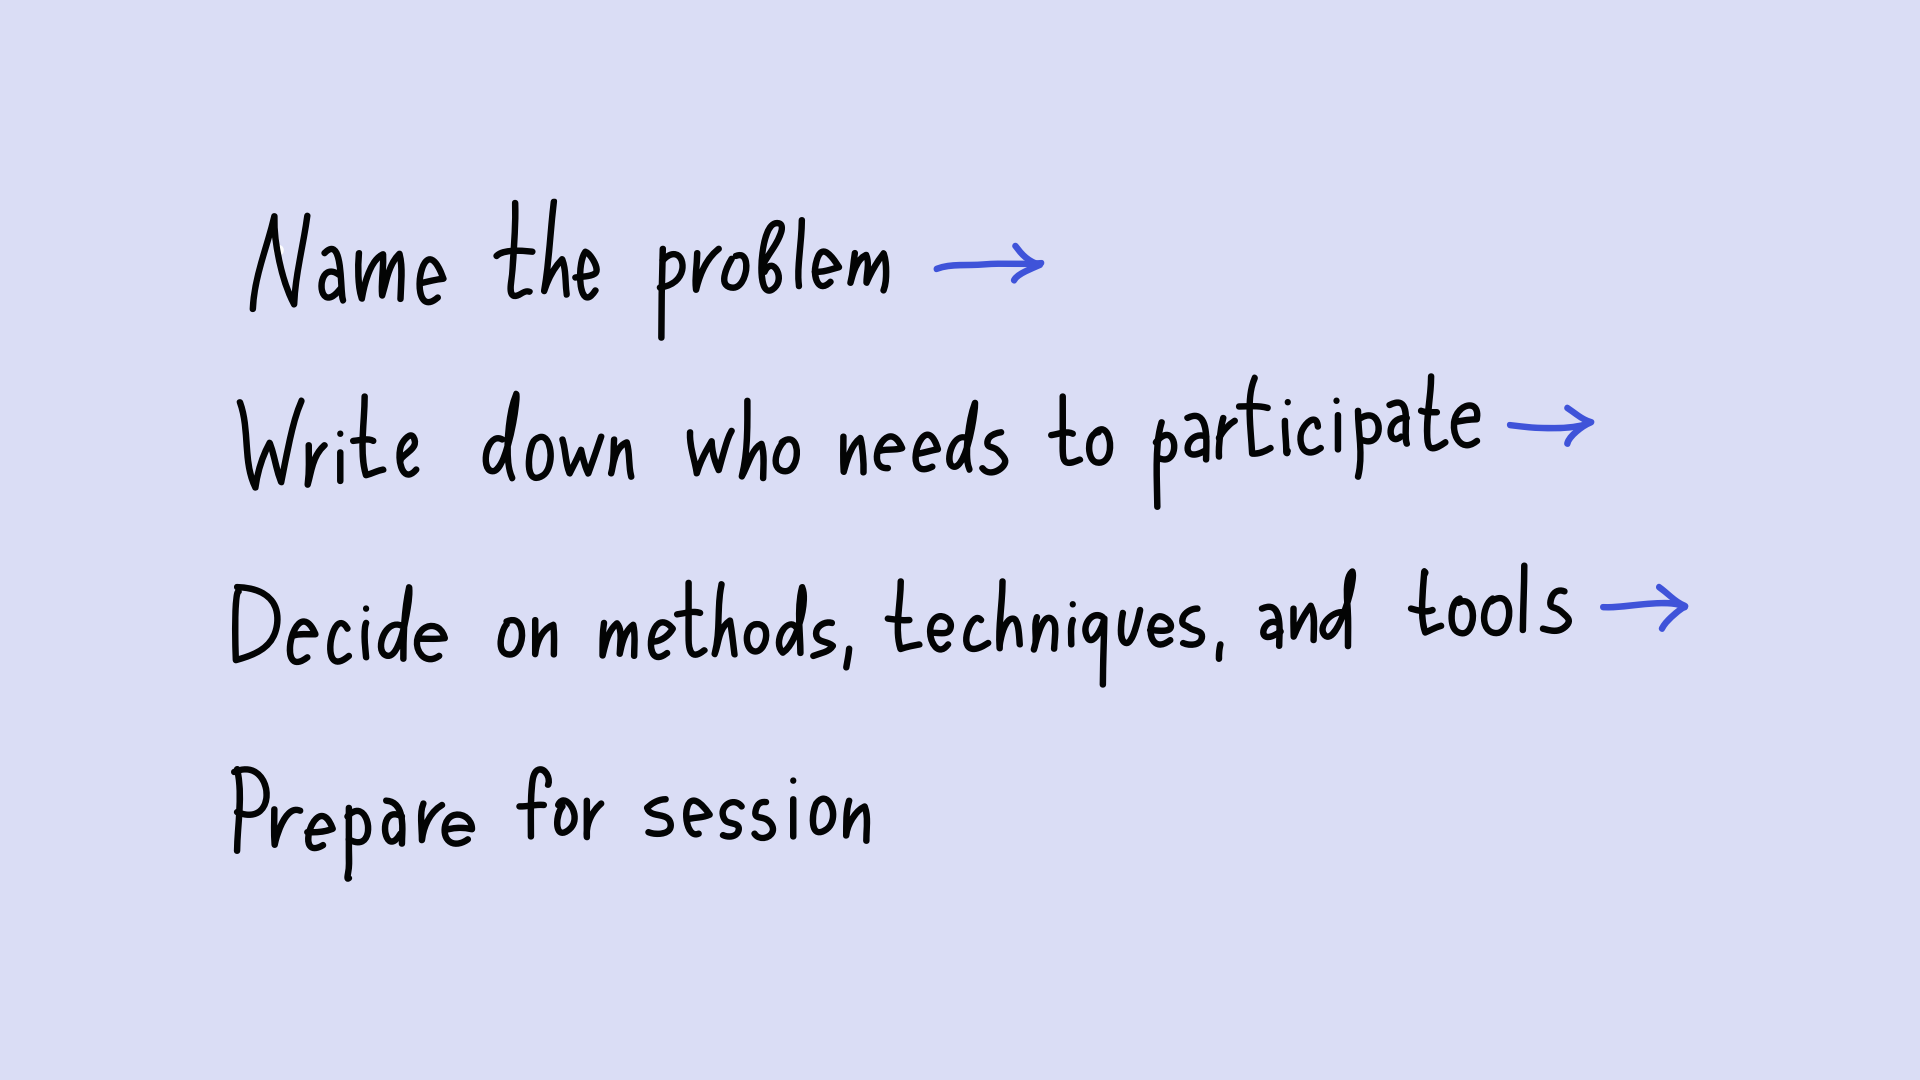
1. Name the problem
First, define the problem or question that the brainstorming session will aim to address. The question should be clear and concise. For example, instead of “How can we improve our website?” try something like “What first step can we take toward selecting a vendor who can help level up our web design?”
2. Write down who needs to participate
Participants should have a stake in the problem or question. Include a mixture of experts and non experts. Experts can provide pointers or tips on the topic, but they tend to be limited by what they know. Non-experts don’t know as much, of course, but that means they have a more limited concept of what they can’t do – meaning a wider range of motion when they’re articulating their ideas.
Importantly, don’t invite too many people. Three to seven is ideal. By inviting fewer than three, you make it difficult to establish a free flow of brainstorm ideas. By inviting more than seven, you end up with the opposite problem: people butting heads as they each vie to speak their mind.
3. Decide how you’ll go from ideation to idea selection
To increase efficiency and avoid roadblocks, you’ll want to establish a process for going from idea generation to selection on the outset. A popular method is to ask participants to vote on three to five of their favorite ideas. You can then take these ideas to a strategy session so that a smaller group can evaluate them for selection.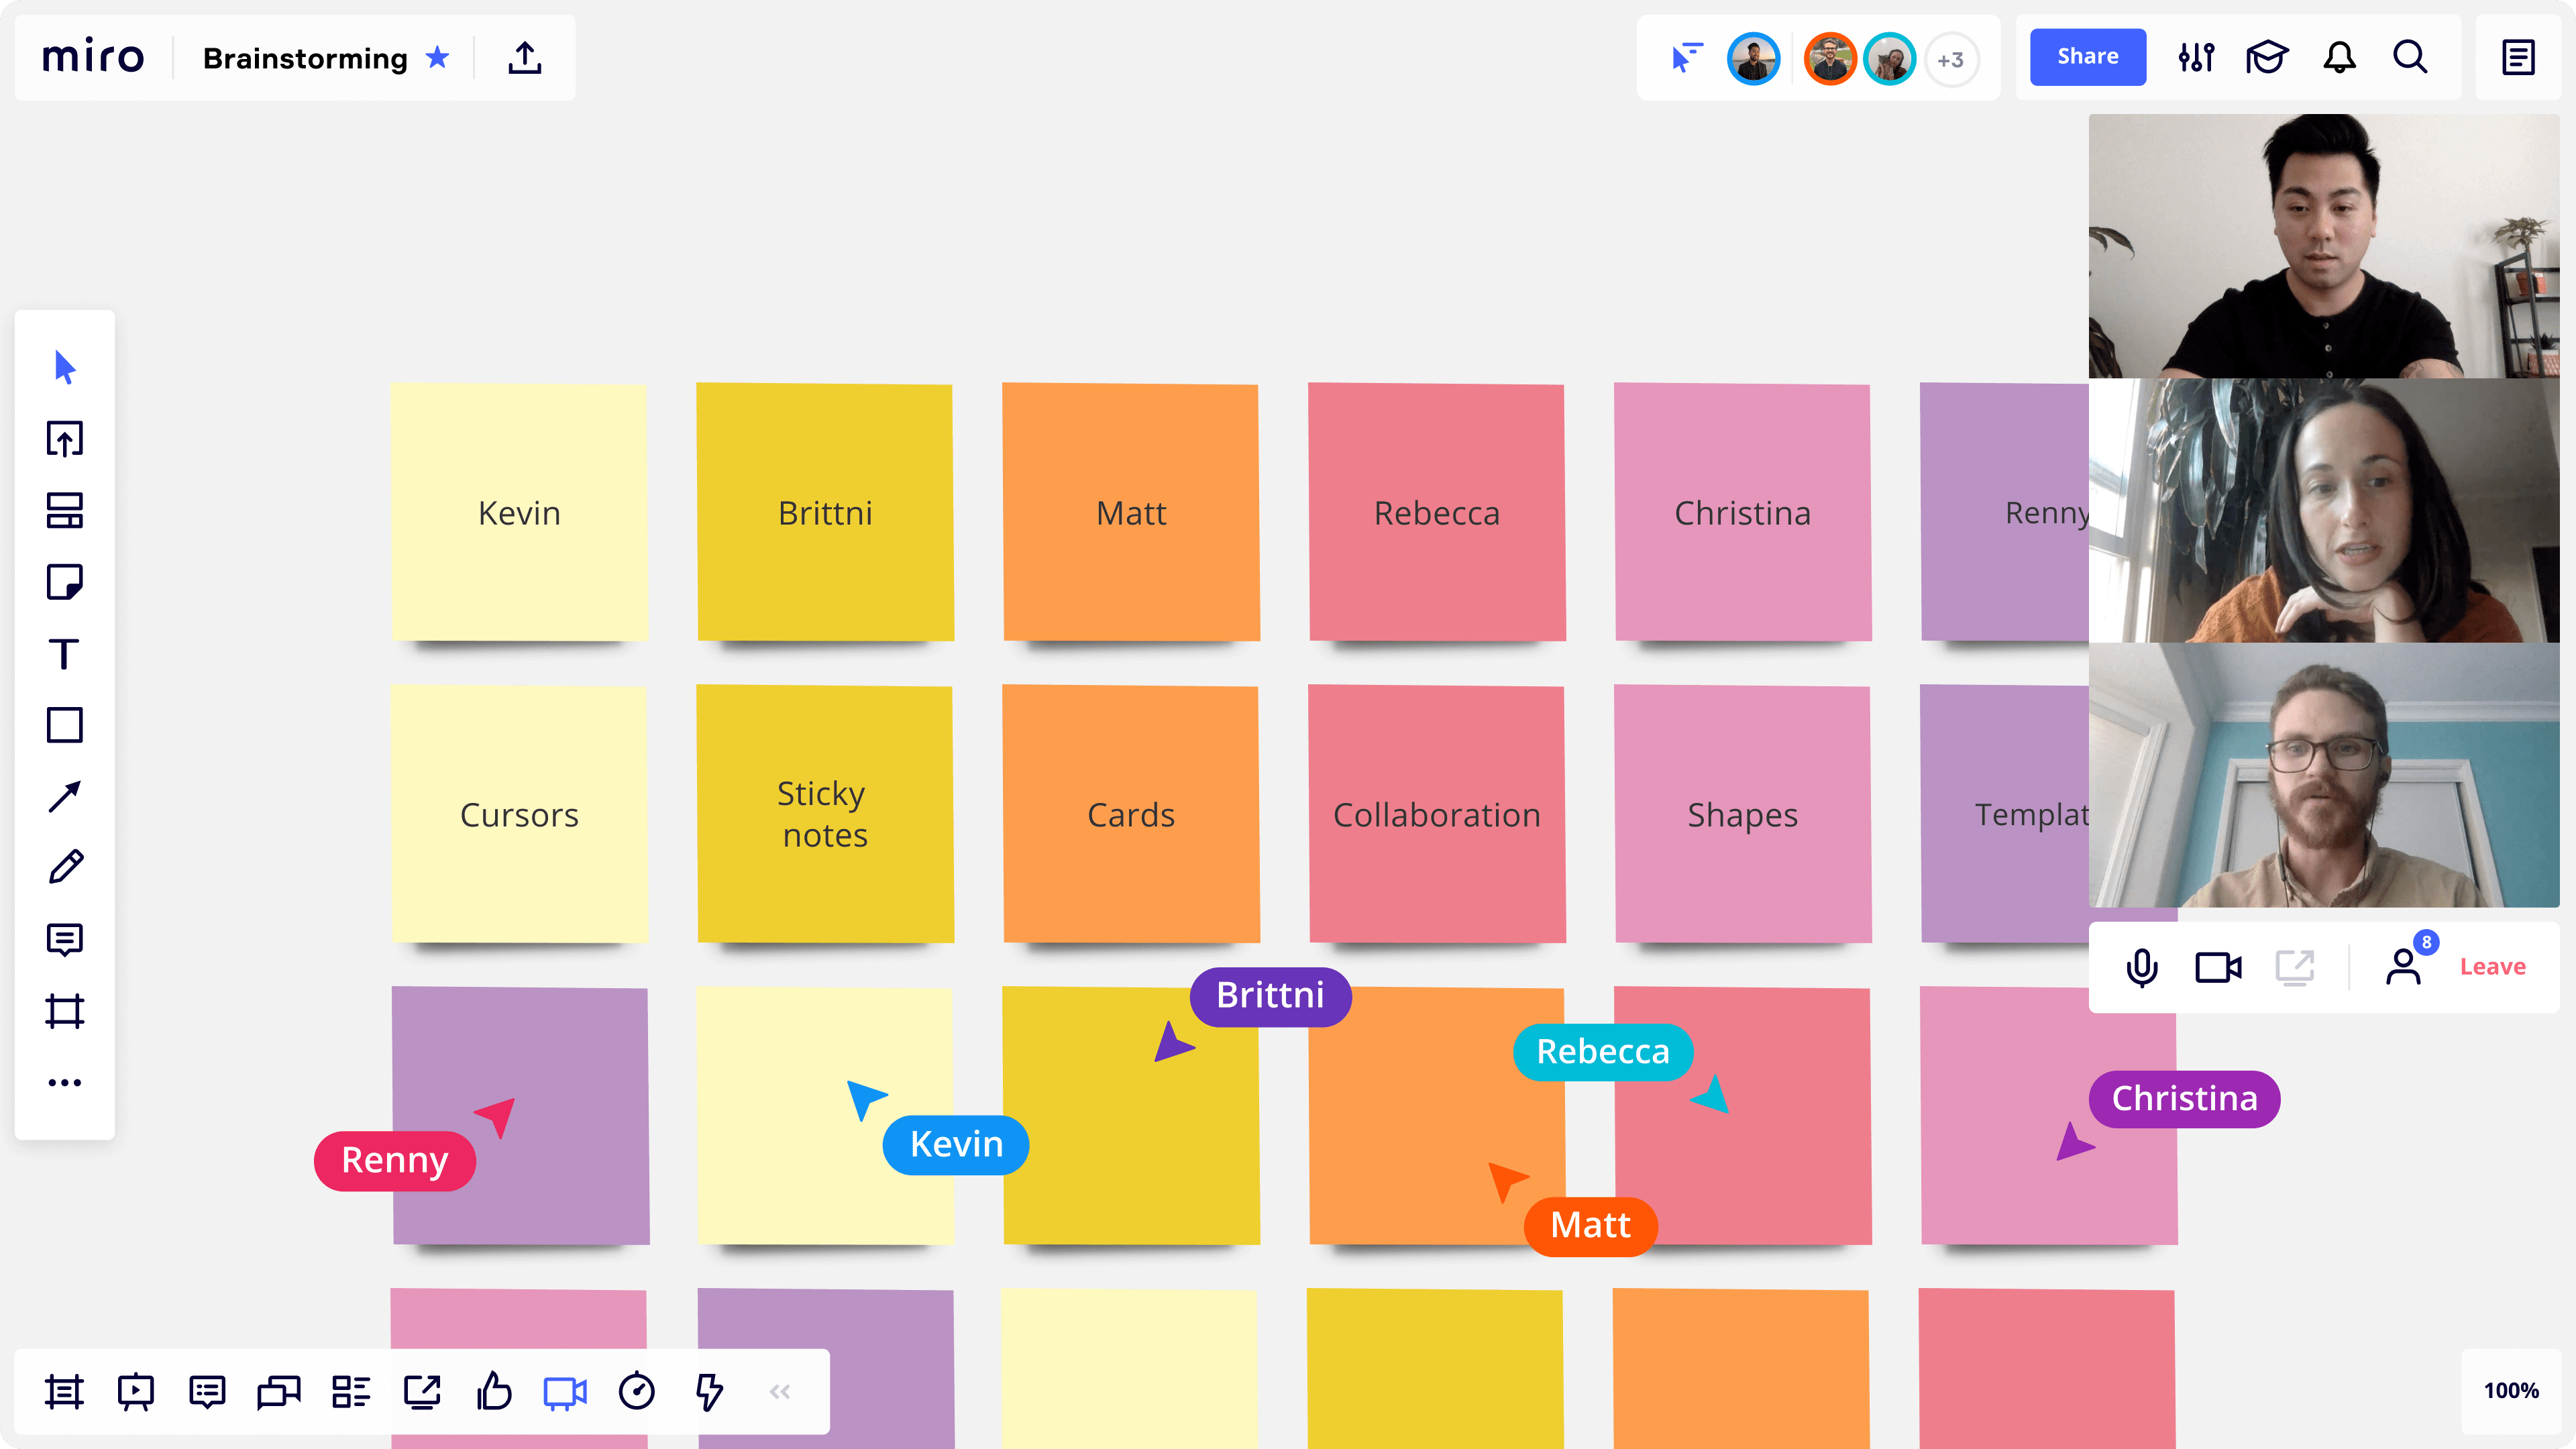
A group voting on their favorite ideas in an online brainstorm in Miro
4. Choose a brainstorming technique
Figure out the techniques you’ll use to facilitate conversation during the brainstorm. Your selection might change depending on the number of people invited to the meeting, the personalities involved, what you hope to accomplish, and whether people are all participating remotely or whether some are in the office. Get the participants’ buy-in prior to the meeting, so everyone comes to the brainstorm prepared to participate. Send them an email beforehand describing the technique you plan to use, and invite them to ask clarification questions.
5. Decide on tools
If you’re brainstorming in the office, you can’t go wrong with sticky notes and Sharpies. However, use collaboration tools like an online whiteboard to brainstorm online. It’s the perfect digital space to ideate in real-time, take notes, add post-it-notes, vote on ideas, and follow up after your brainstorm.
In addition, you may need tools to share specific files with the group like Google Docs, Google Drive, or DropBox. It can also be useful to keep communication avenues like Slack open during your brainstorm if you want to share links.
6. Customize a virtual space to host your brainstorm
Start by using a template to create a visual space for brainstorming on your online whiteboard. Write the instructions for the technique you’re using, and practice features that may be new to you (like using the Timer and setting up participant voting). The idea is to make it easy for your group to get started.
Try this online brainstorming starter kit Here’s an easy-to-use template by UX Designer Jen Goertzen. It will help you get set up in seconds so the prep work doesn’t take too much time.
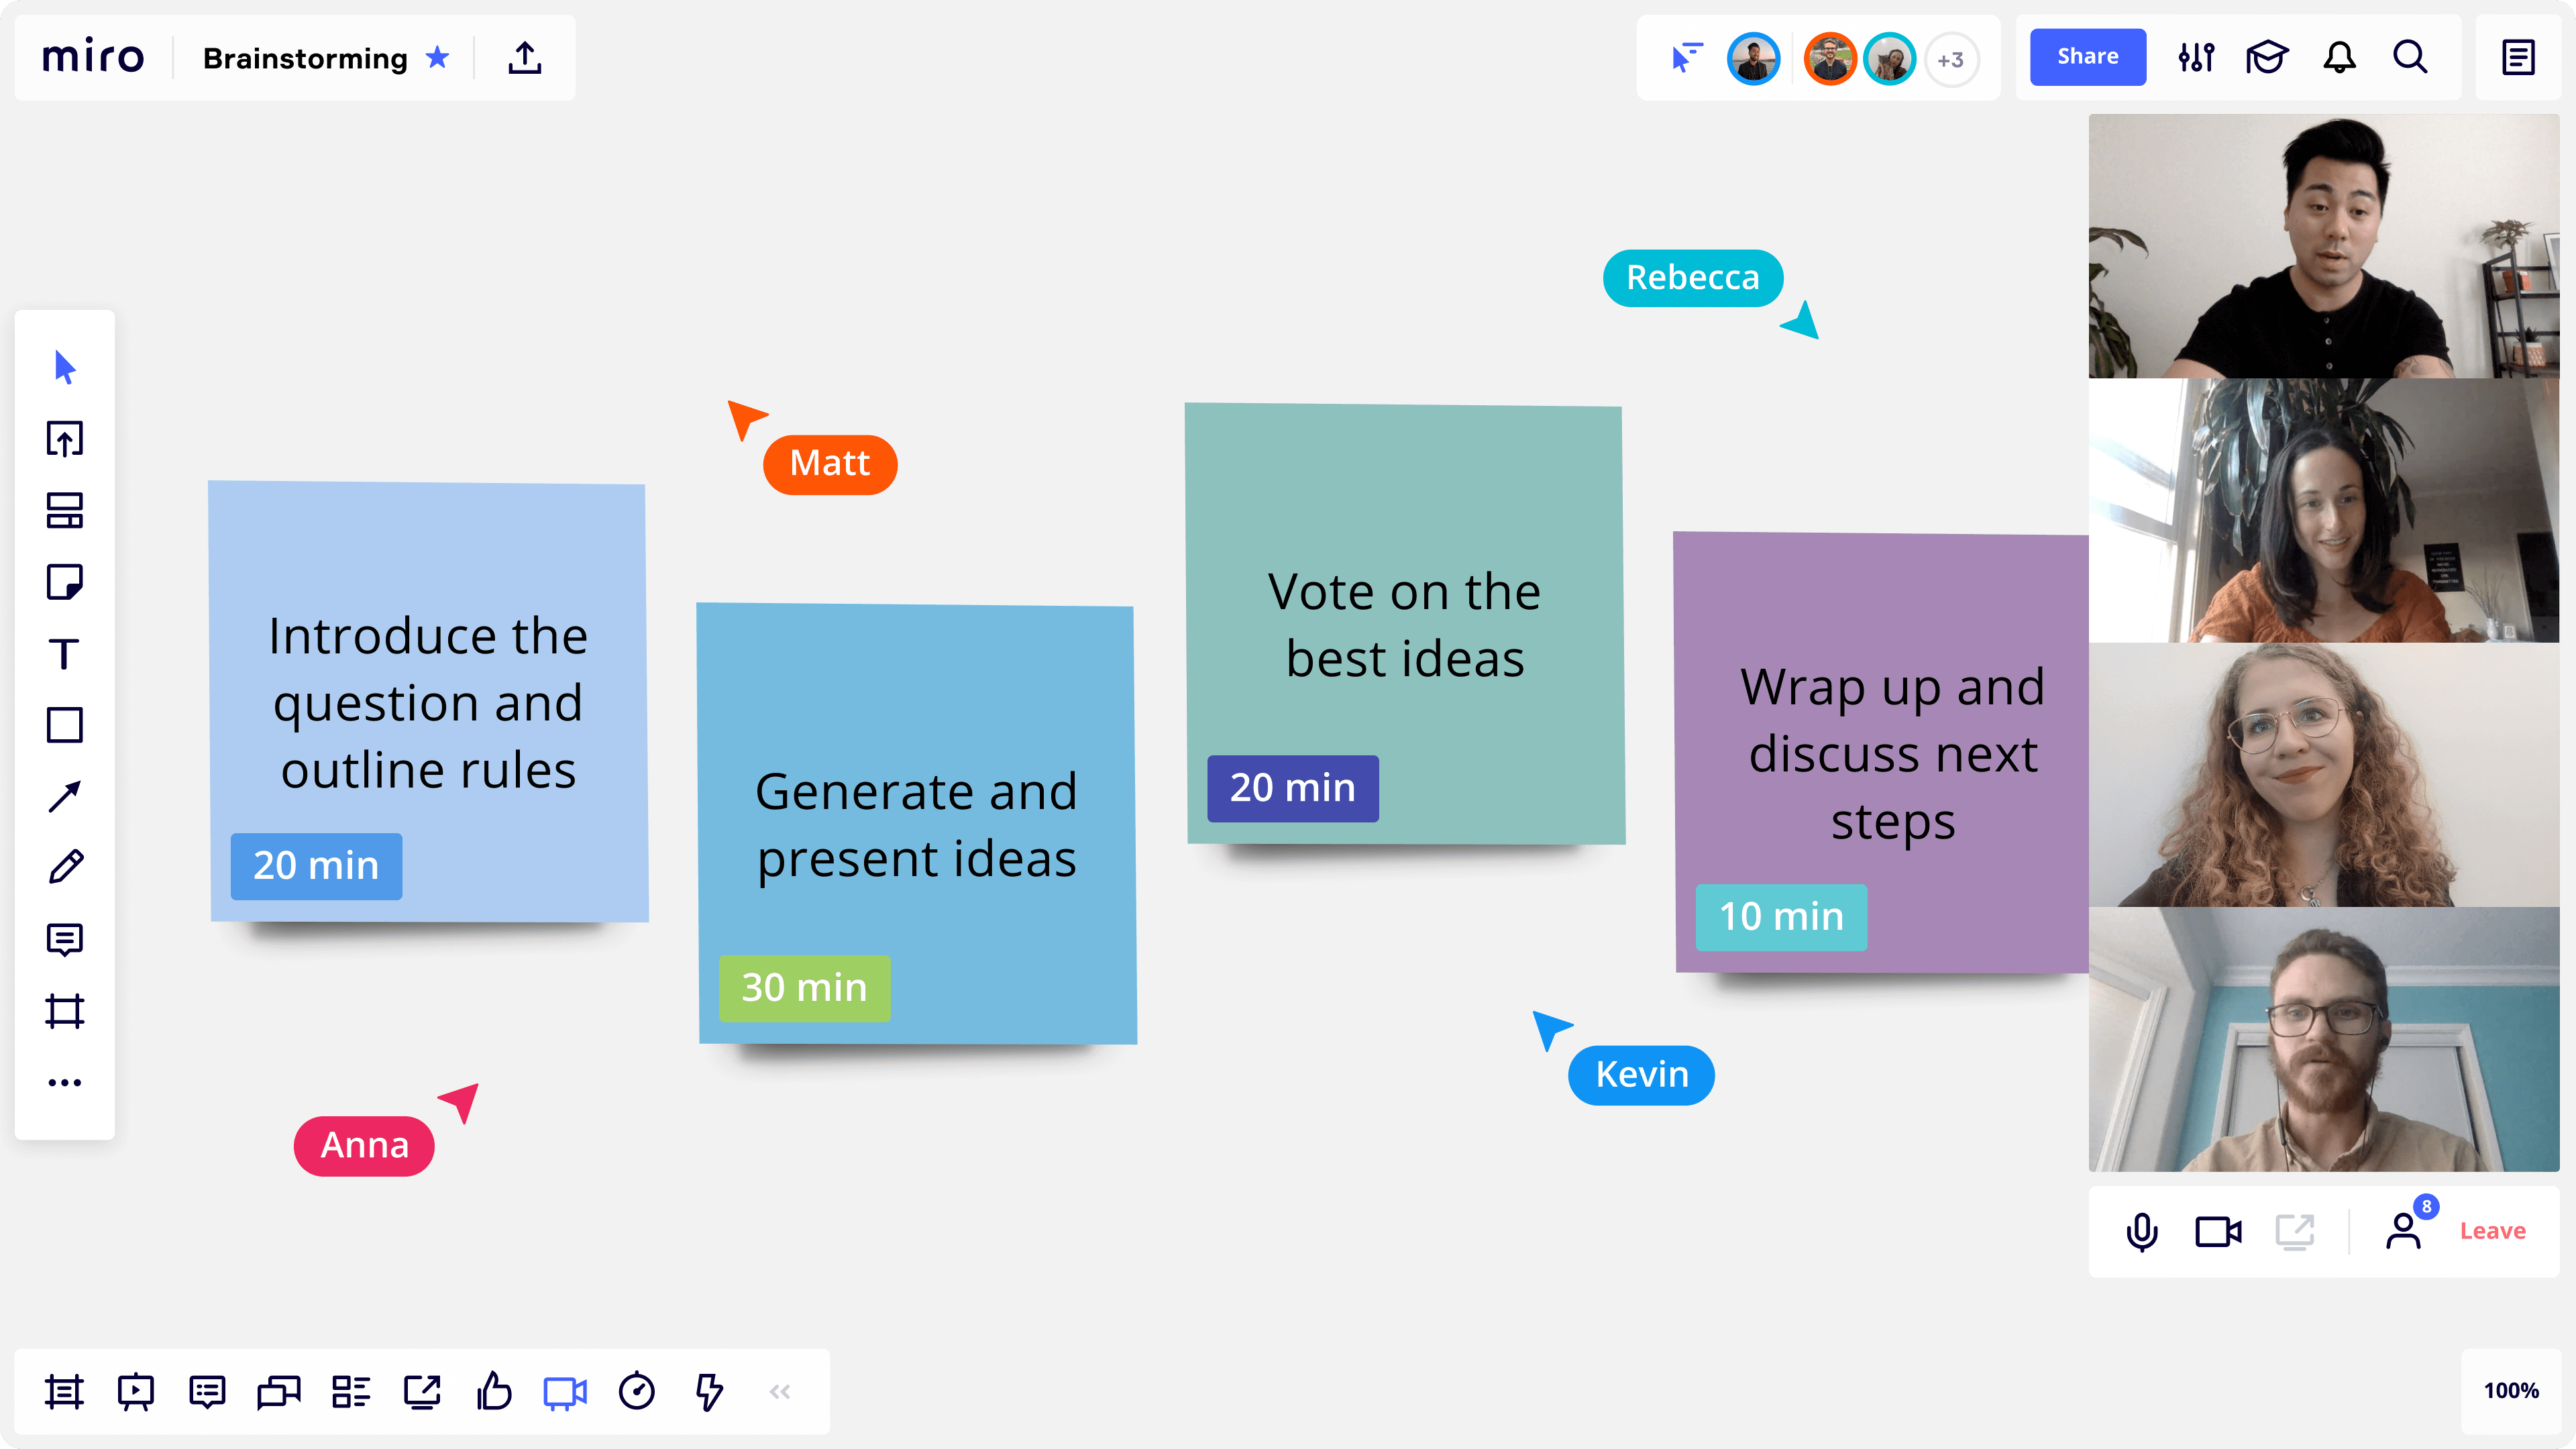
7. Send out a meeting invite with an agenda
We’ve all been invited to a meeting without knowing what it was for. Even if everyone has the best of intentions, it can make you feel confused, unwelcome, and like you’re wasting your time. By contrast, including an agenda in your meeting invite will give your participants the opportunity to prepare, make them feel energized, and increase their chances to engage with discussion topics.
While agendas vary, here’s a rough outline of what a productive brainstorm might look like:
8. Share any contextual knowledge ahead of time
It can be helpful to share knowledge about the project itself or the brainstorming technique that you plan to use. For the project, let everyone know what your objectives are, what challenges the team is facing, any relevant history, and how the project fits into your team’s overall goals. For the brainstorming session itself, tell everyone why you selected that particular technique and what you hope to accomplish during the meeting.
miro brainstorming template
Reverse brainstorming is a technique that prompts a group to think of problems, rather than solutions. Because humans naturally think of problems, it’s a great way to get a group to anticipate problems that may occur during a project.
How it works
Here’s how to lead a brainstorm using the reverse brainstorming method:
- Start by identifying the problem. Write down a description of it so it’s clear for each participant.
- Next, reverse the problem. Instead of thinking of solutions to the problem, think of causes or things that could happen to make the problem worse.
- Now, collect ideas from your participants. Ask your team to generate ideas around ways in which the problem could get worse. There are no bad ideas—accept every possible scenario your team can think of, and don’t offer criticism.
- Reverse ideas again. By now, you have several ideas. Discuss them, and reverse them again, into solutions to those problems.
- Lastly, evaluate the ideas.
- Now is the time to evaluate which ideas are feasible. As a group, decide what the best solution will be to your original problem. When to use reverse brainstorming
Reverse brainstorming is a great method to use in several scenarios. For example, when people have trouble coming up with ideas quickly, or if participants come into the brainstorm with strong opinions that might hinder the free flow of new ideas. It can also be useful if your team is highly analytical.
By reversing the problem to focus on the cause, or looking at ways the problem could get worse, it helps identify solutions more easily. After all, humans identify problems so much more easily than they can think of solutions. This reverse thinking can help lead you to groundbreaking solutions.
Try the Reverse Brainstorming Template
Miro’s virtual canvas is a great tool for your brainstorm. Here’s how you can start reverse brainstorming using this template:
Step 1: Open the template to start customizing it for your reverse brainstorming session. Start by identifying the problem.
Step 2: Invite your group to join the reverse brainstorm. Be sure to explain the process before you get started.
Step 3: Use the template to move through the reverse brainstorming process with your team.
Conclusion
Let us know your thoughts in the comment section below.
Check out other publications to gain access to more digital resources if you are just starting out with Flux Resource.
Also contact us today to optimize your business(s)/Brand(s) for Search Engines