Yoast SEO is a WordPress plugin that you can use to make your blog more attractive to search engines, which will make your blog easier to find in online searches.
It’s easy to set up and use, but it can take some time to get used to how it works. It also has a lot of options, so in this post we’ll go over the most important things you’ll want to know when you’re first starting out with Yoast.
Table of Contents
How To Use Yoast Seo Software
In this section, we’ll cover what you need to know if you’re new to Yoast SEO. You’ll learn:
- How to properly enter information in the configuration wizard
- What the Yoast SEO meta box is and how it works
- What you can do from the Yoast SEO dashboard
Then, in the next section, we’ll get into some of the more advanced Yoast SEO settings.
Using The Yoast SEO Configuration Wizard
After installing Yoast SEO, you can access the Yoast SEO dashboard by clicking on the new SEO tab in your WordPress dashboard.
If this is your first time using the plugin, you should see a big notice for First-time SEO configuration.
By clicking the configuration wizard link, Yoast SEO will give you a guided tour to help you set up all of the basic SEO settings:
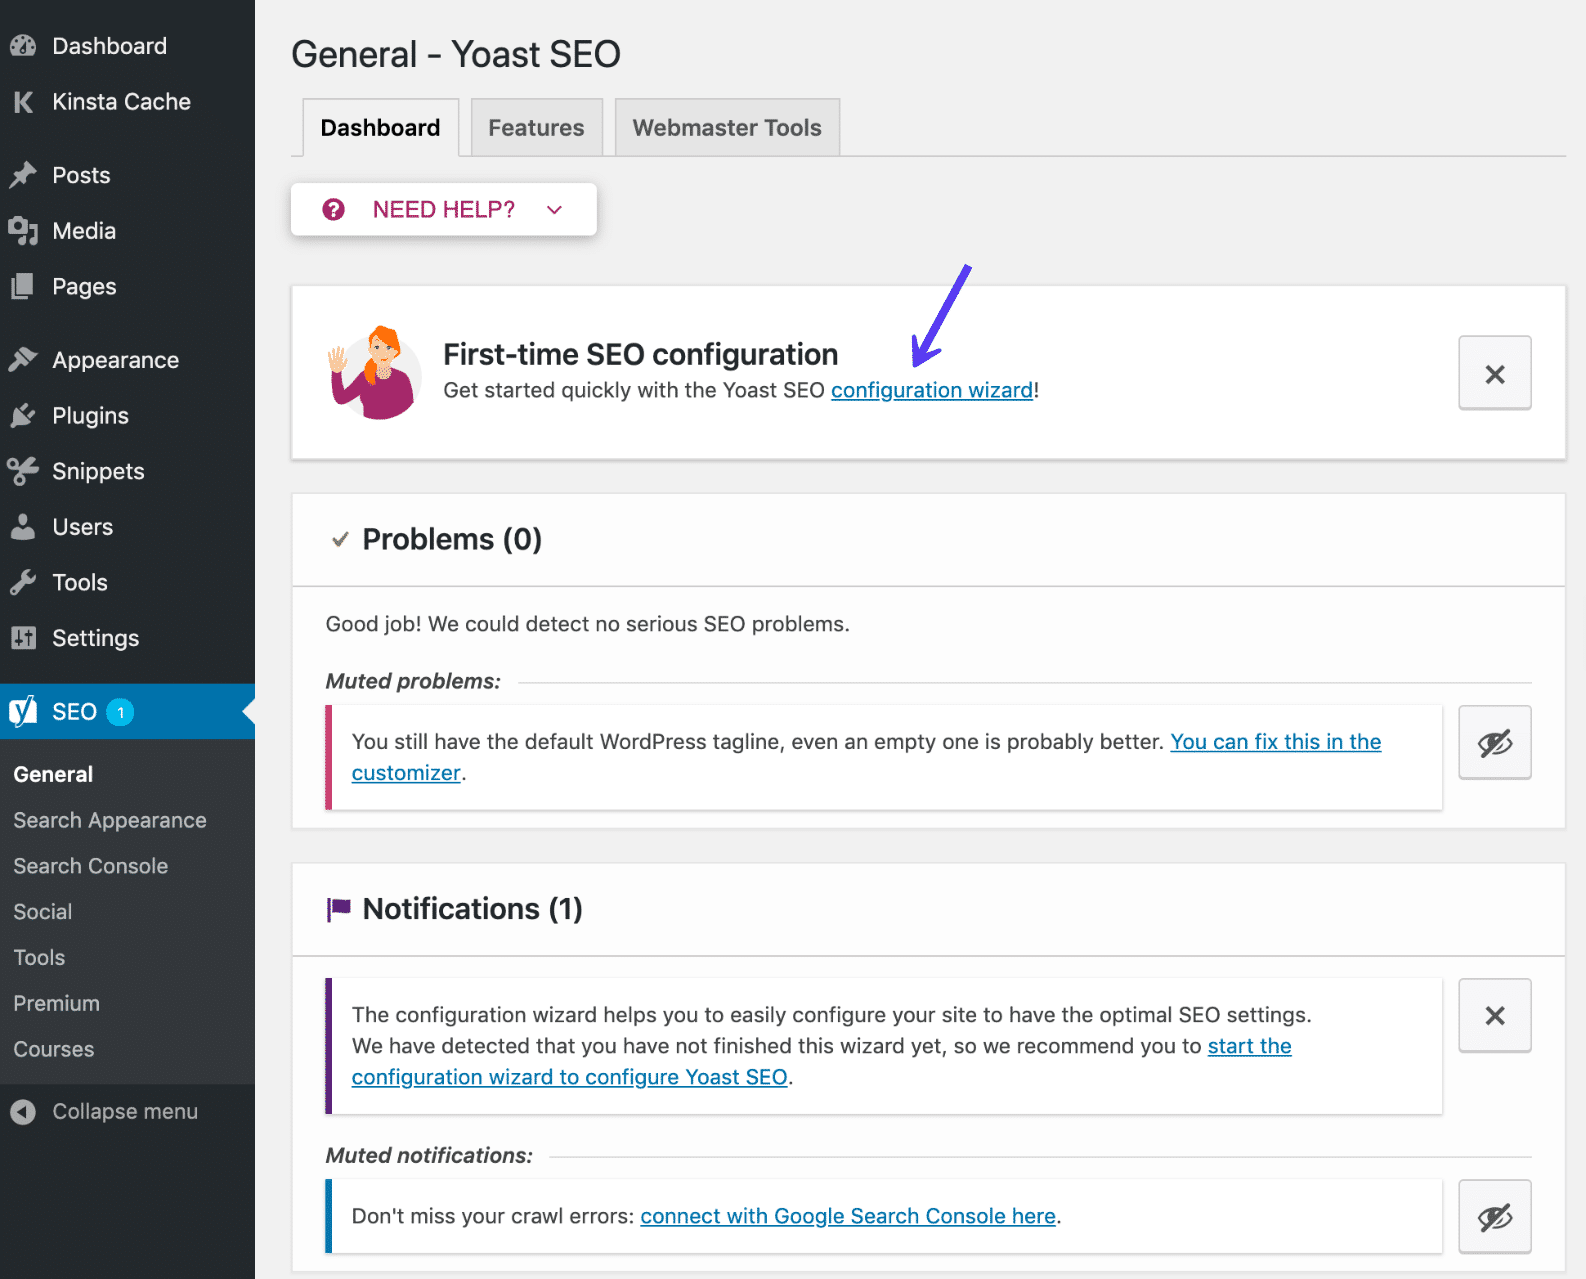
Go ahead and click that link. Then, on the first page of the wizard, click Configure Yoast SEO.
Below, we’ll take you through the rest of the sections in the configuration wizard.
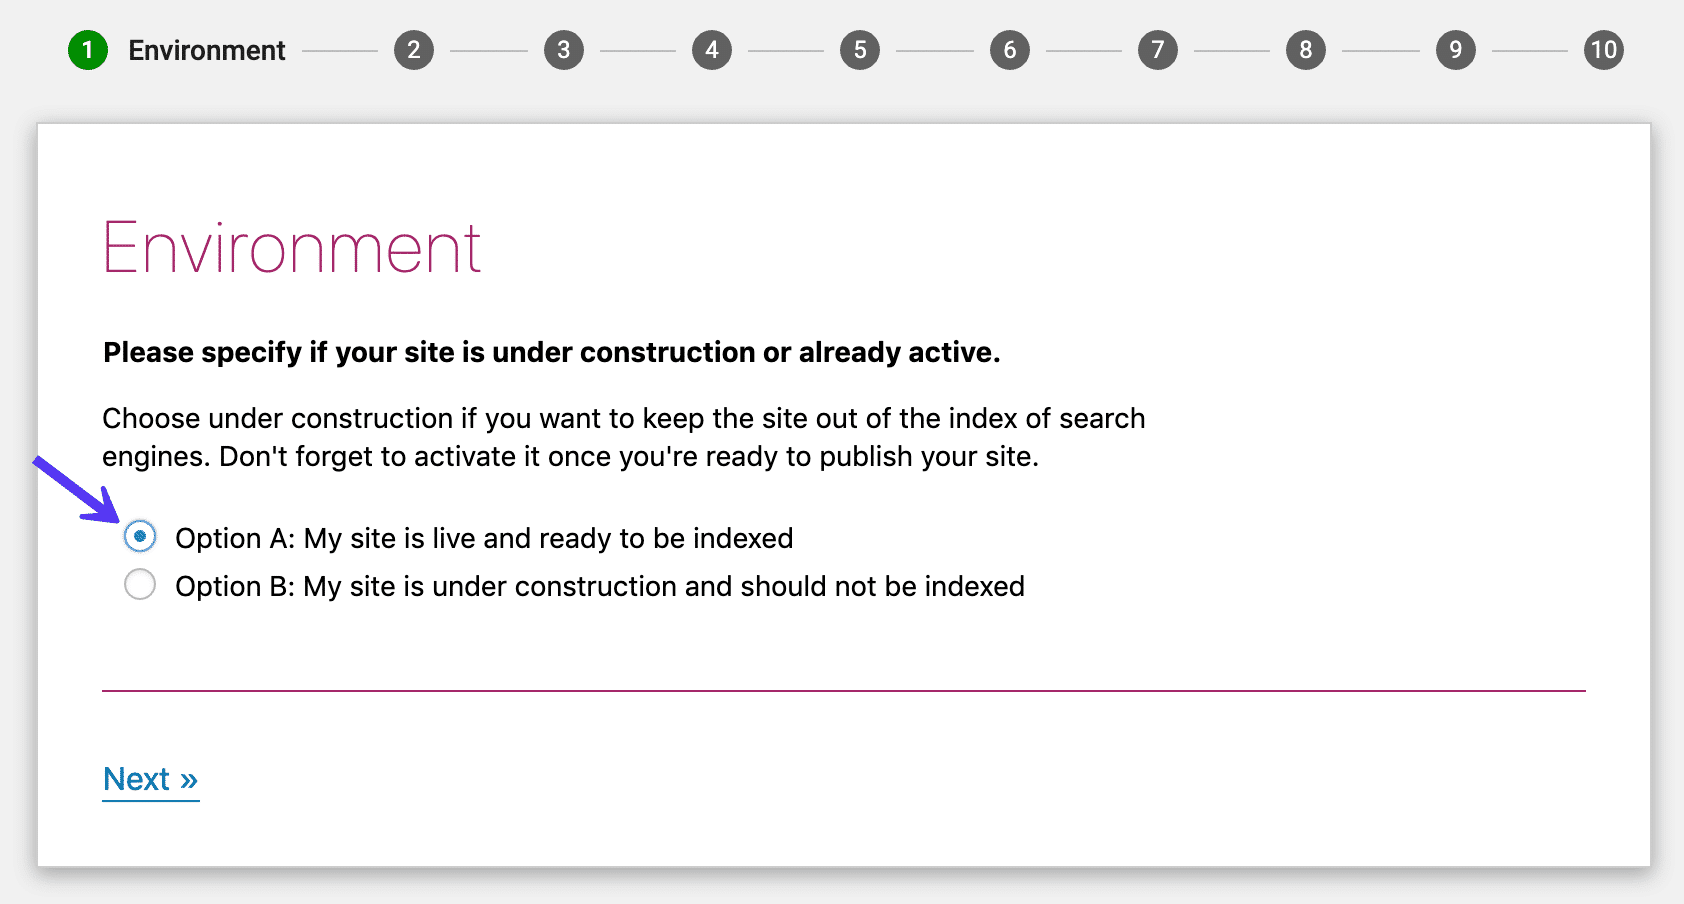
Section 1: Environment
In the Environment area, you should always choose Option A unless you’re working on a development site:
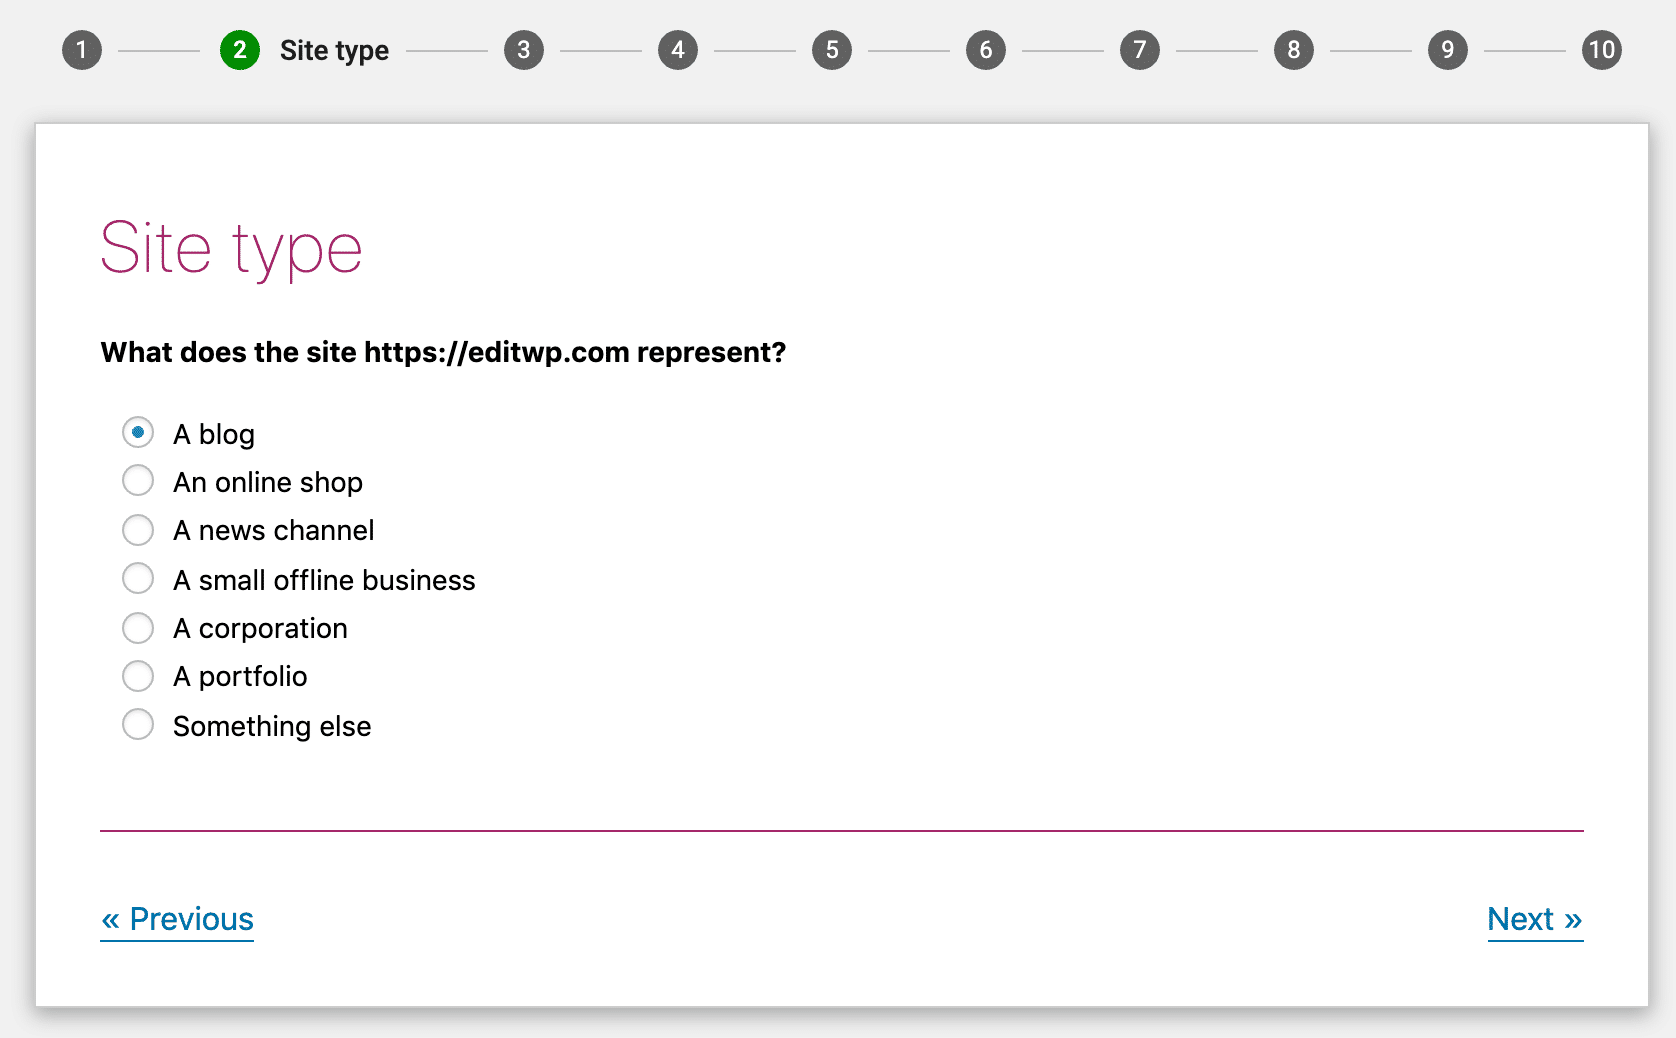
Section 2: Site type
In the Site type section, try to choose the type of site that best matches your site:
Section 3: Organization or person
Next, choose whether your website represents an organization or a person.
If you choose Organization, you’ll be asked to also enter:
- The name of the organization
- Your organization’s logo (112x112px, at minimum. We recommend a square logo.)
And if you choose Person, you’ll just need to enter the name of the person.
Enter all of the social media profiles for your website. If you’re creating a website for an organization, this will be your organization’s social media profiles. If it’s a person, you can edit the details, like the social profiles, the name and the description of the user on their WordPress profile page.
You don’t need to enter all of them – just choose the social media profiles that you actively want to promote:
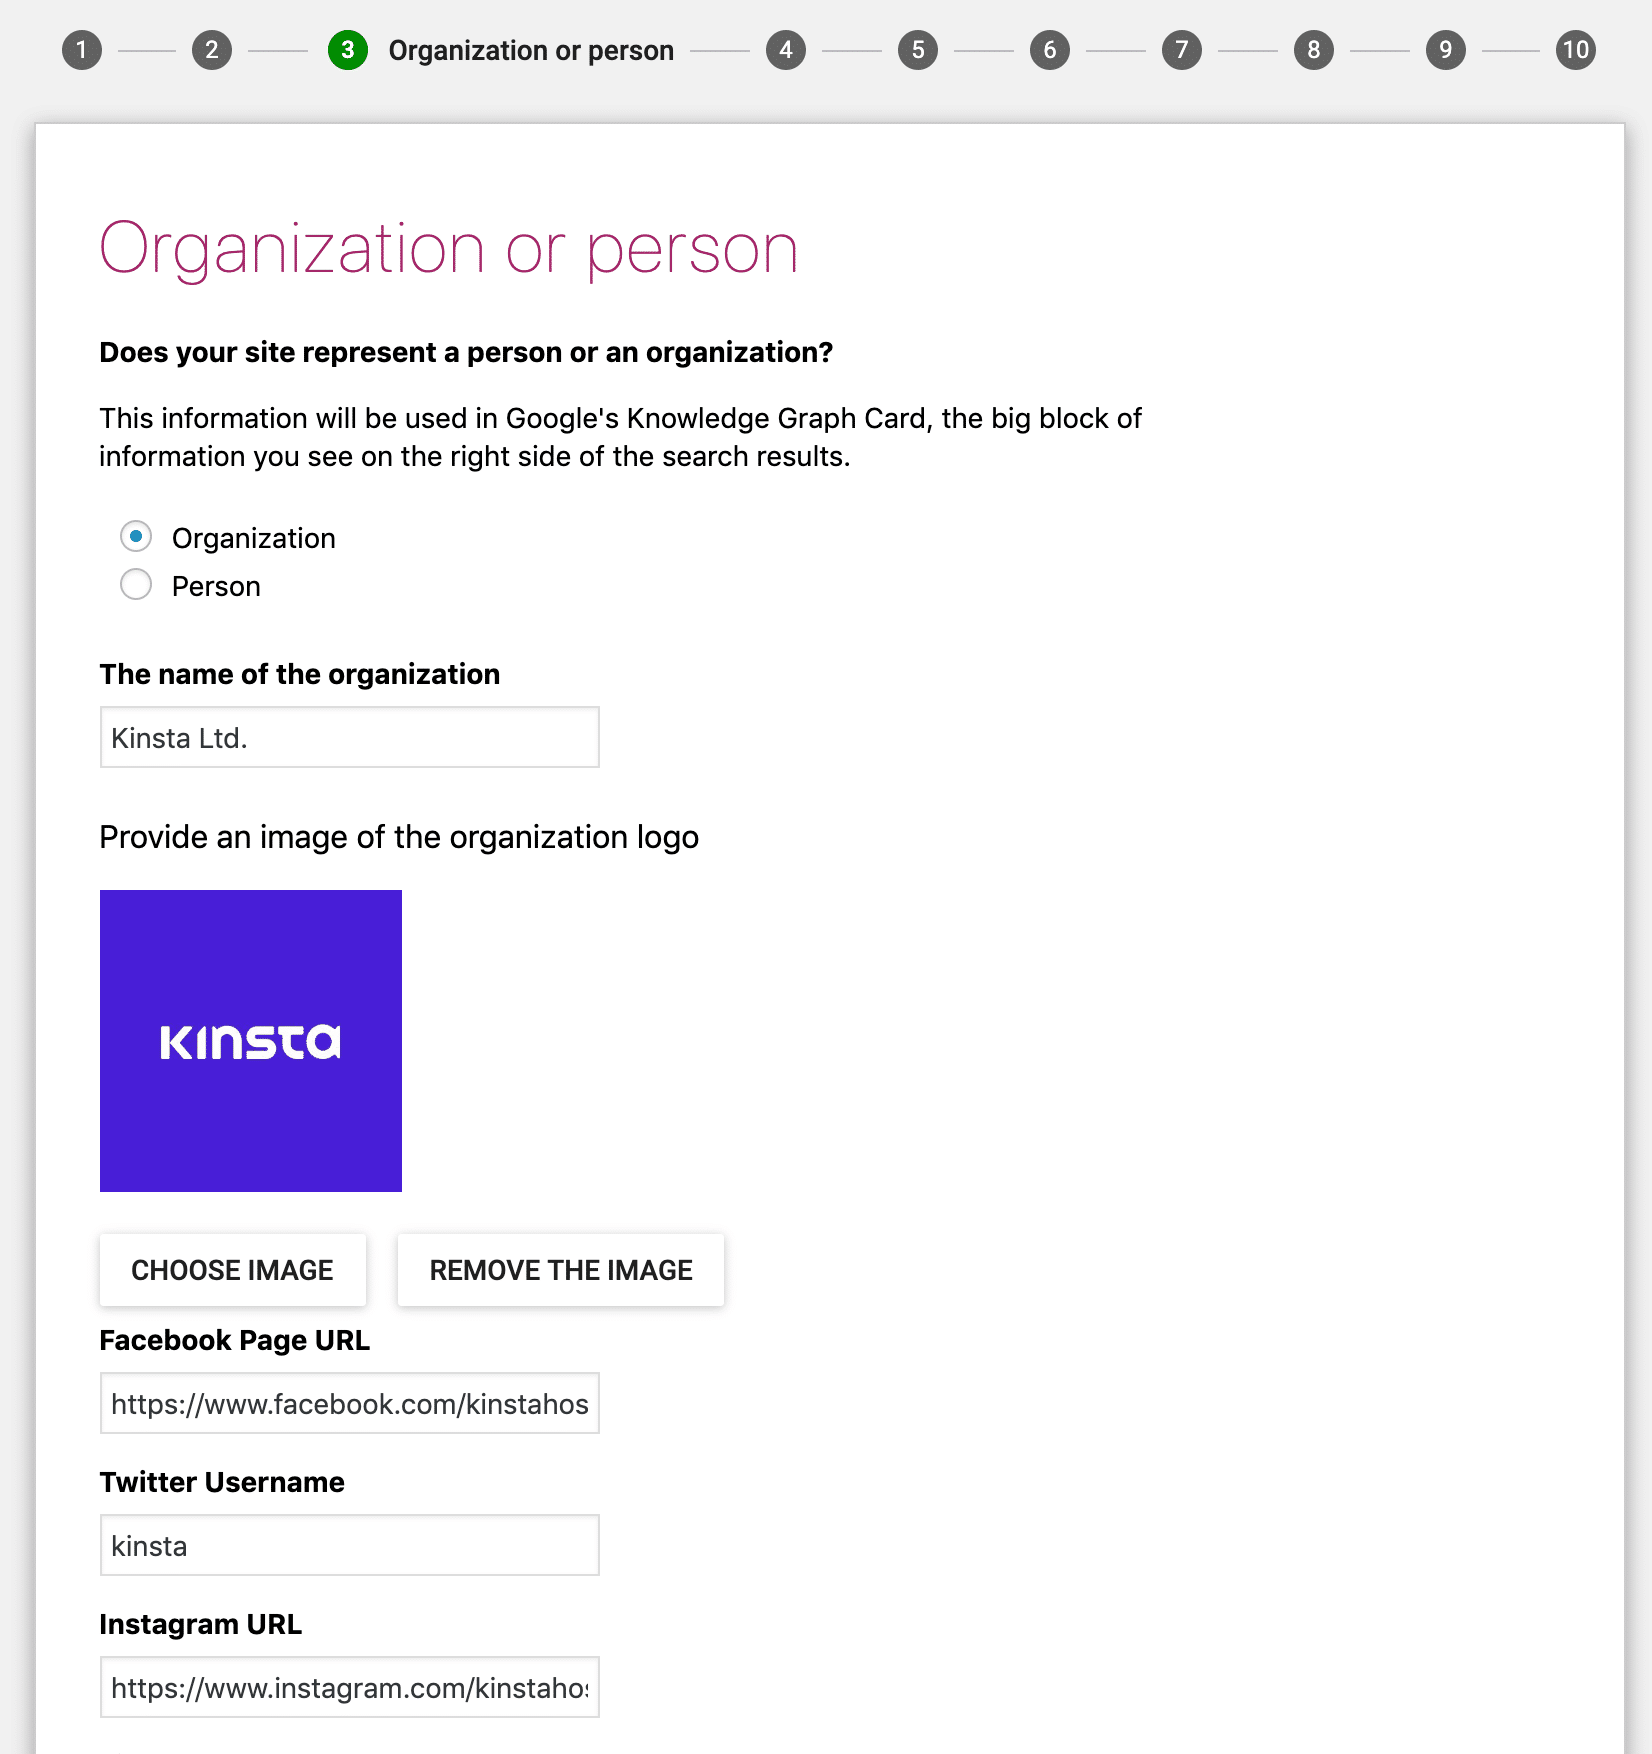
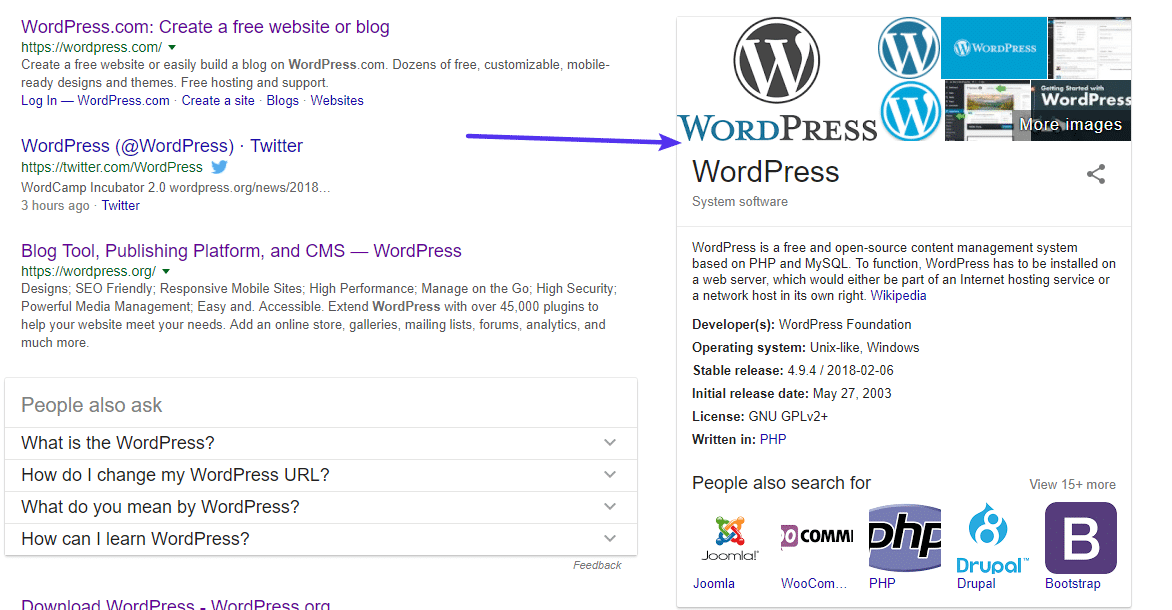
This section helps Yoast SEO provide additional information to Google to generate a Knowledge Graph Card. These cards are pretty eye-catching, so every little bit of information helps:
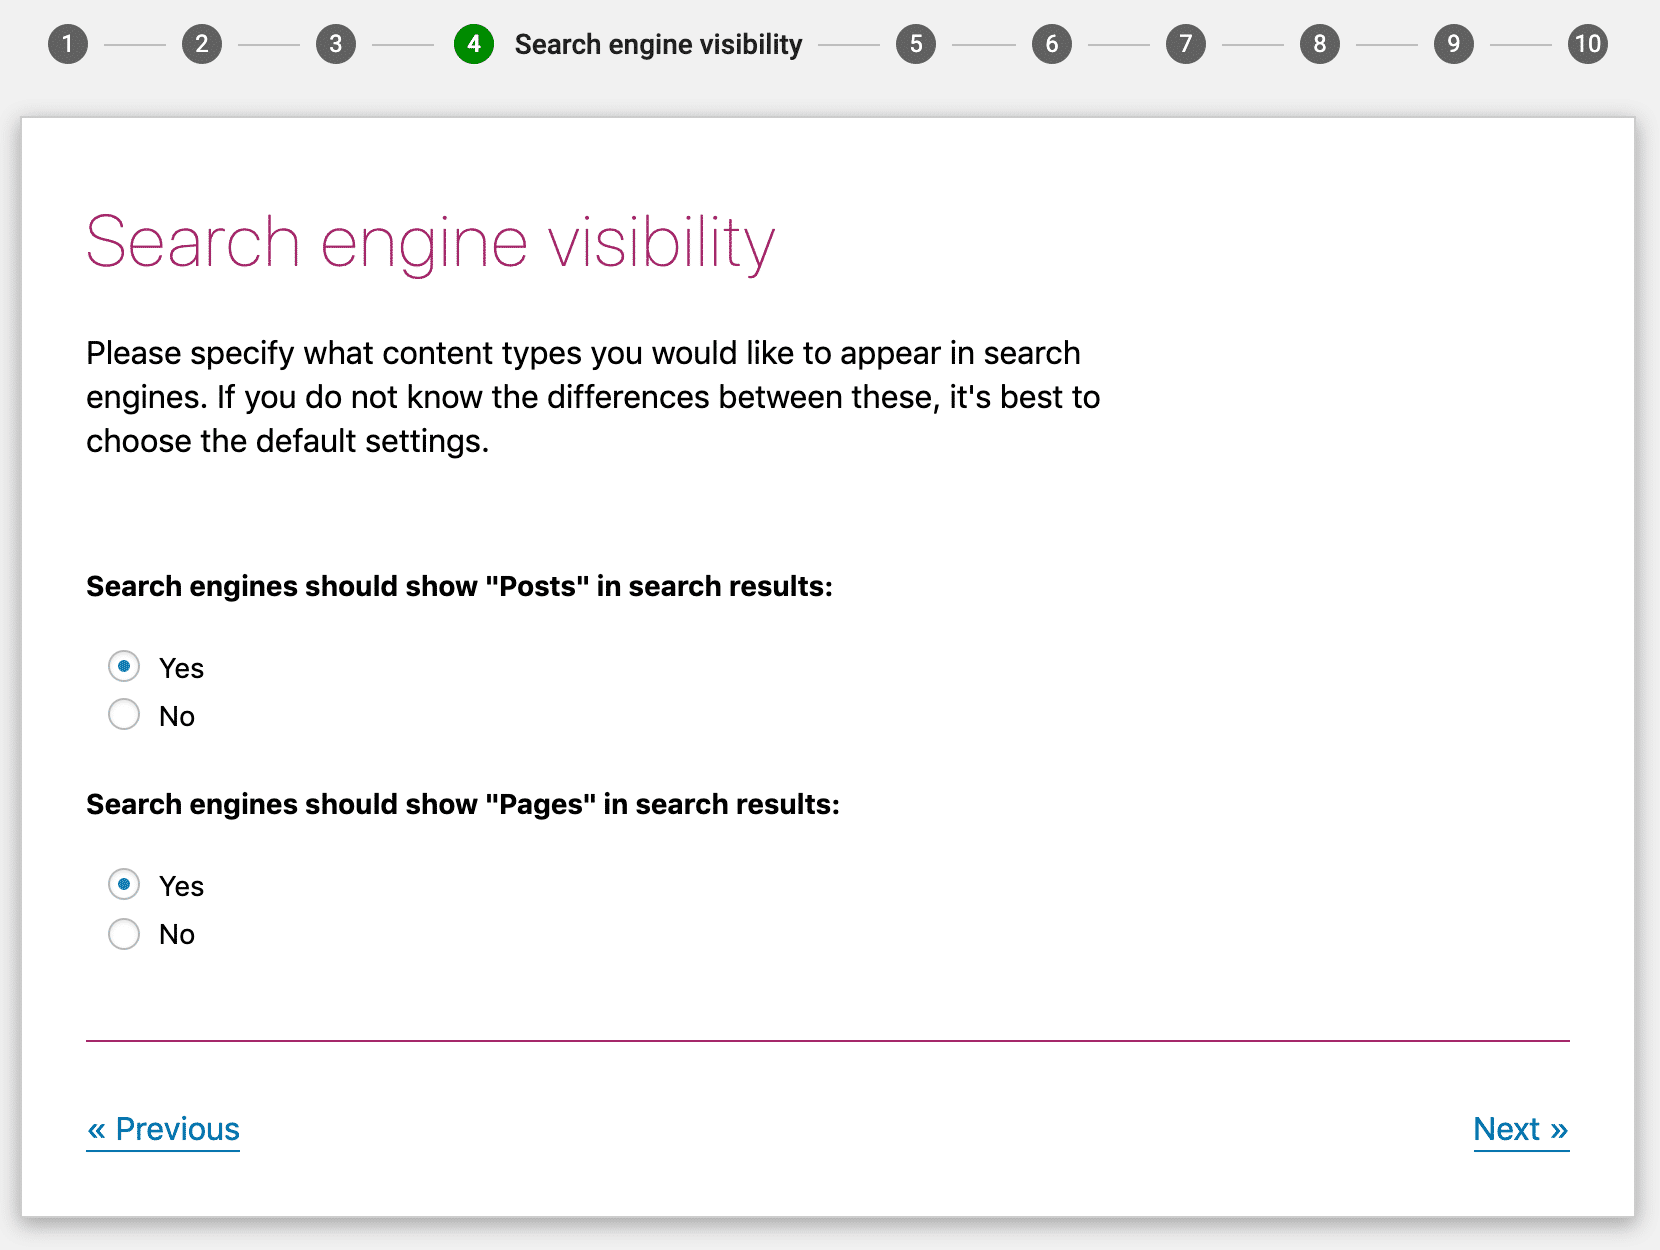
Section 4: Search engine visibility
In the Search engine visibility section, you can choose whether or not to allow certain types of content to be indexed in search engines (Suggested reading: 21 Alternative Search Engines to Use).
99.99% of the time, you want to leave these as the defaults. Unless you already know what you’re doing, don’t change anything:
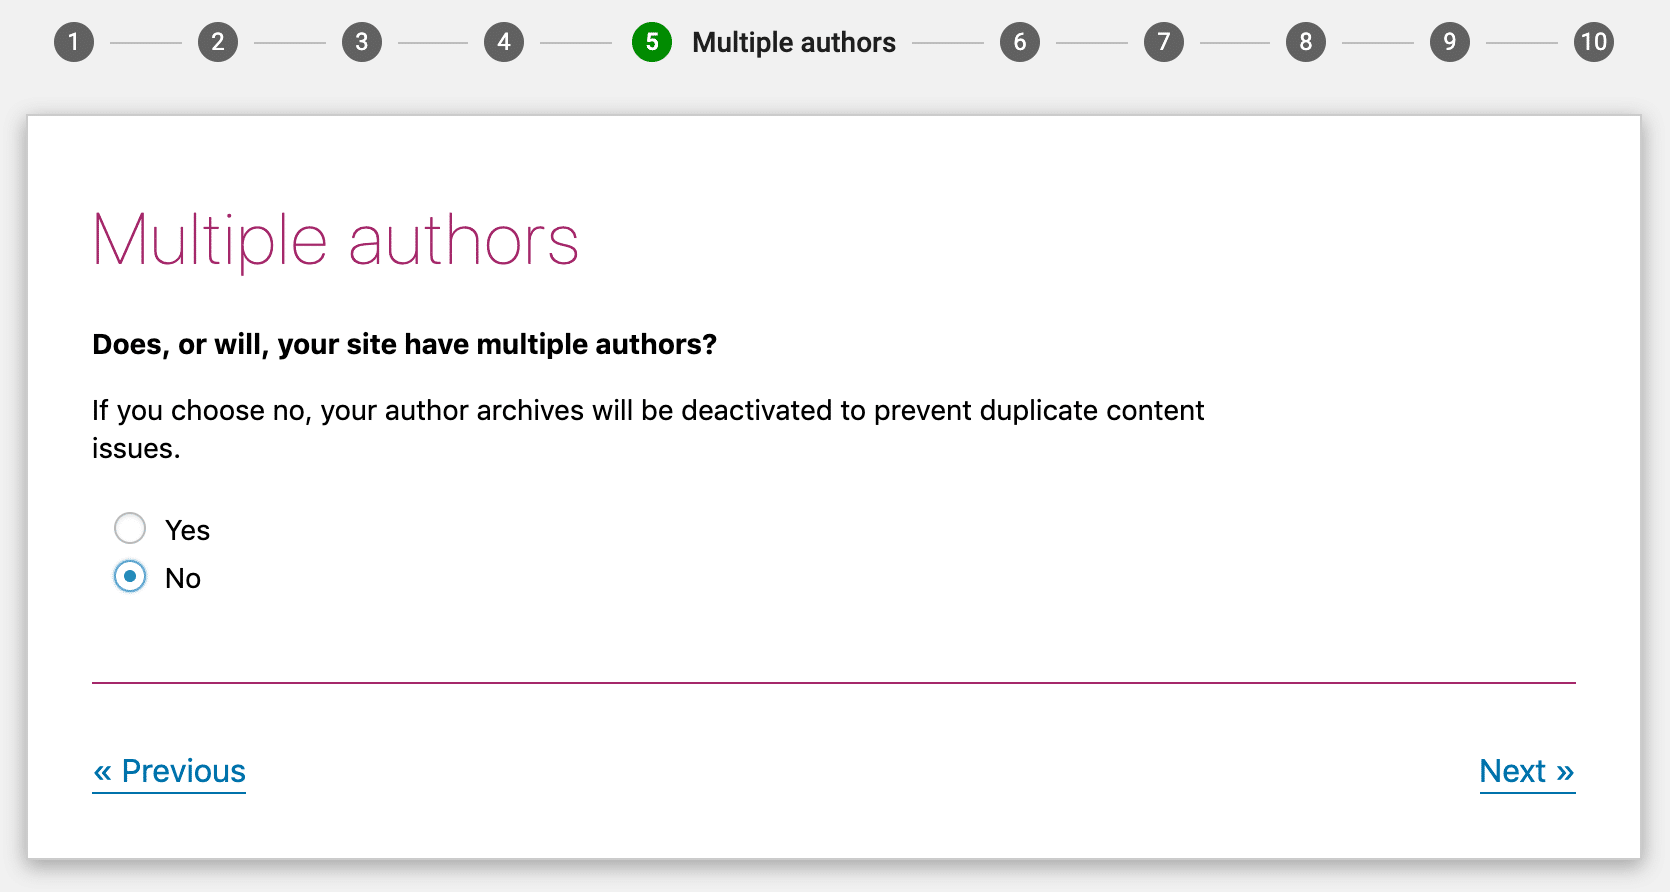
Section 5: Multiple authors
If you’re the only person writing on your site, Yoast SEO will automatically mark your author archives as noindex to avoid duplicate content (noindex tells search engines not to index that page).
Yoast SEO does this because, on a single author blog, the author archives are 100% identical to your actual blog index page.
If you do plan to have multiple authors, choose yes so that people can still find a specific author’s post archives in the Google search results:
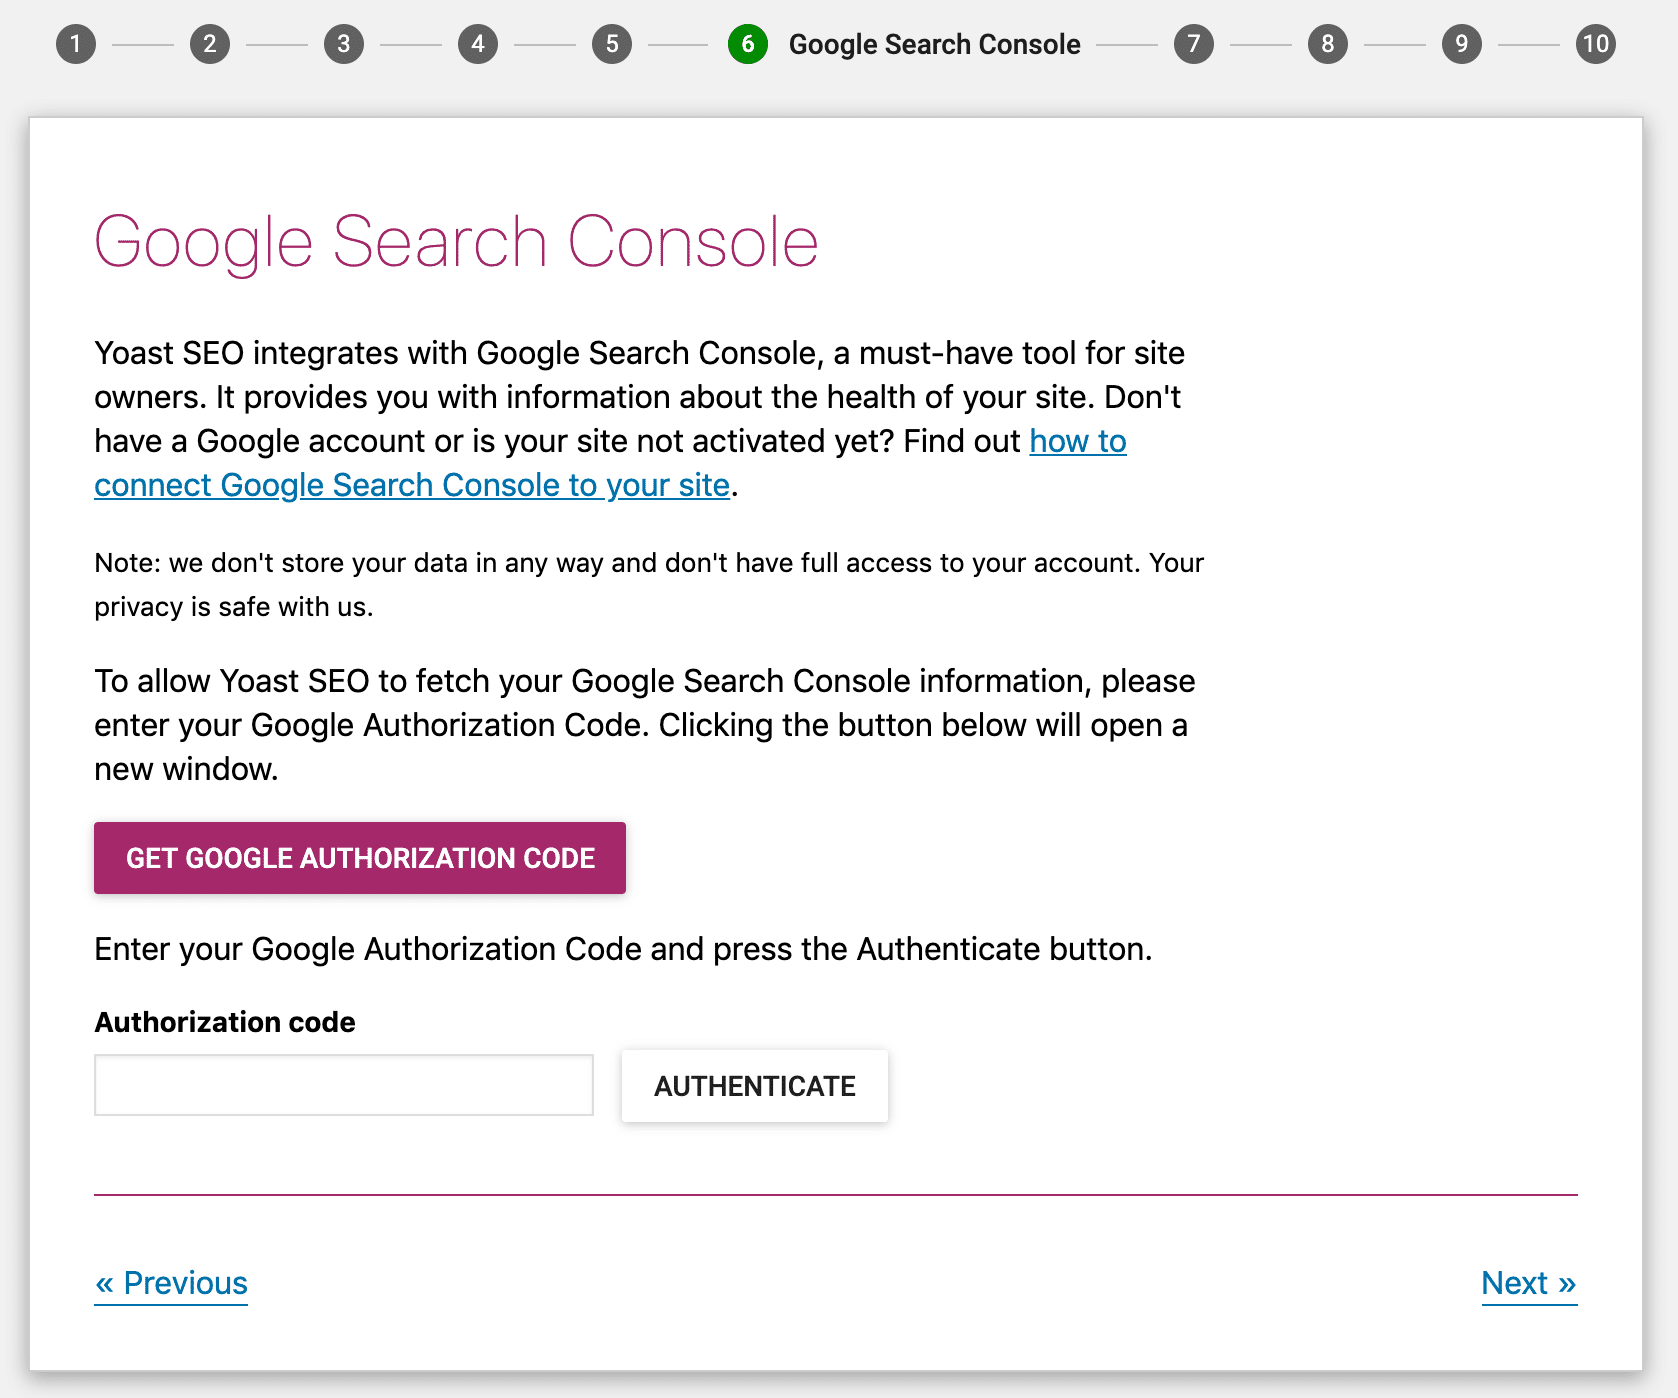
Section 6: Google Search Console
Google Search Console is a tool from Google that allows you to view information about how your site works in Google organic search. If you’re already using Google Search Console, you can allow Yoast SEO to import information by clicking the Get Google Authorization Code and entering the code here.
If you’re not sure what Google Search Console is, feel free to just click Next and skip this for now. While Google Search Console is definitely something you should investigate eventually, it’s not something that’s necessary to the functioning of Yoast SEO:
Section 7: Title settings
Your Title is the main headline that appears in Google search results (and visitors’ browser tabs):

By default, Yoast SEO makes your title:
Post Name *Separator* Website Name
In this section, you can choose:
- Your website name
- The *Separator*
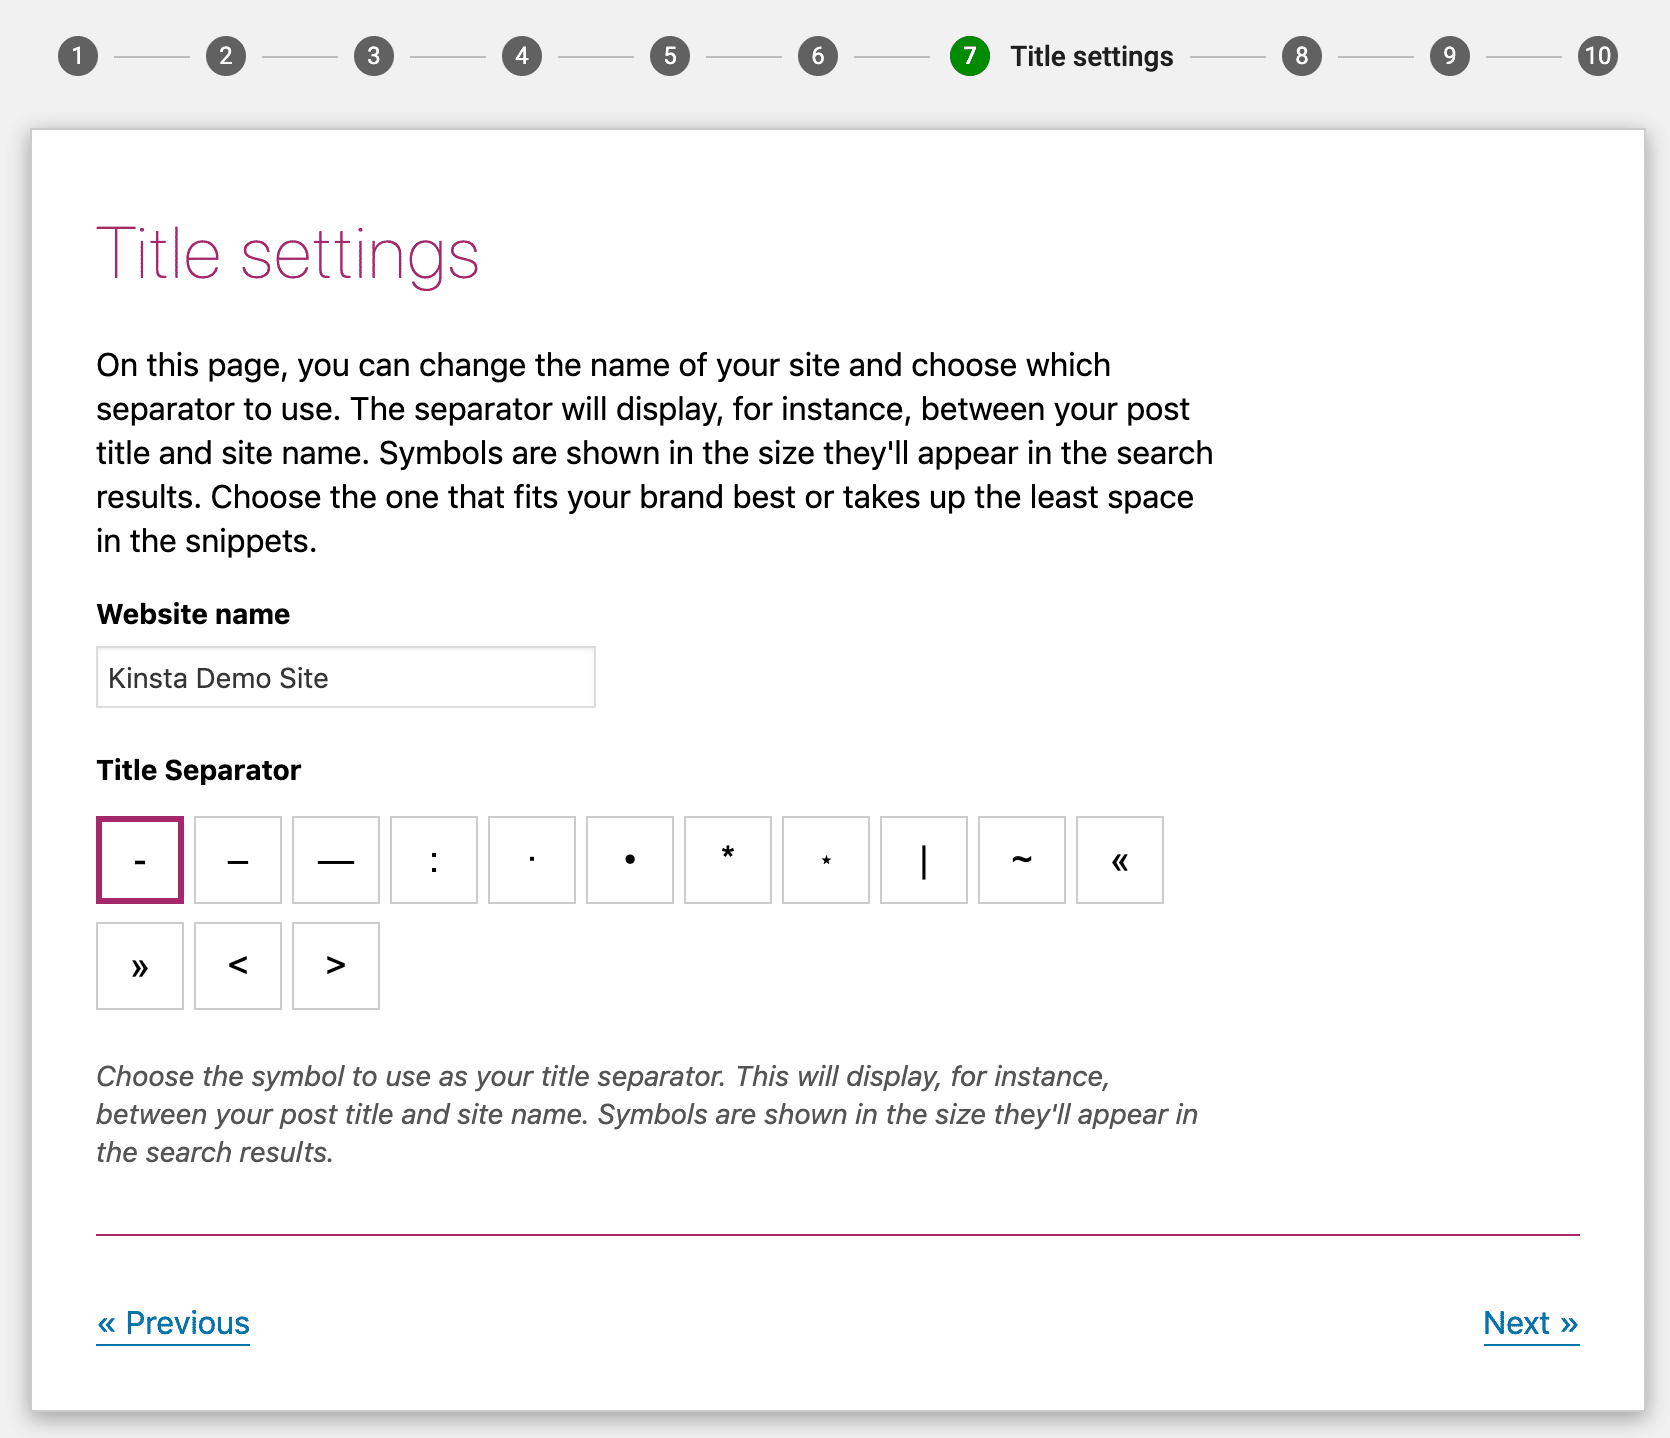
For example, if you had a post with the title “How To Use Yoast SEO” and the settings above, your site would look like this in Google:
How To Use Yoast SEO - Kinsta Demo Site
Wrapping Up The Configuration Wizard
In sections 8 and 9, Yoast SEO will try to get you to:
- Sign up for the Yoast SEO newsletter
- Purchase Yoast SEO Premium, keyword research training, or plugin training
You do not need to do either of these things unless you want to.
Just keep hitting next until you get to section 10 – Success! And then click Close:
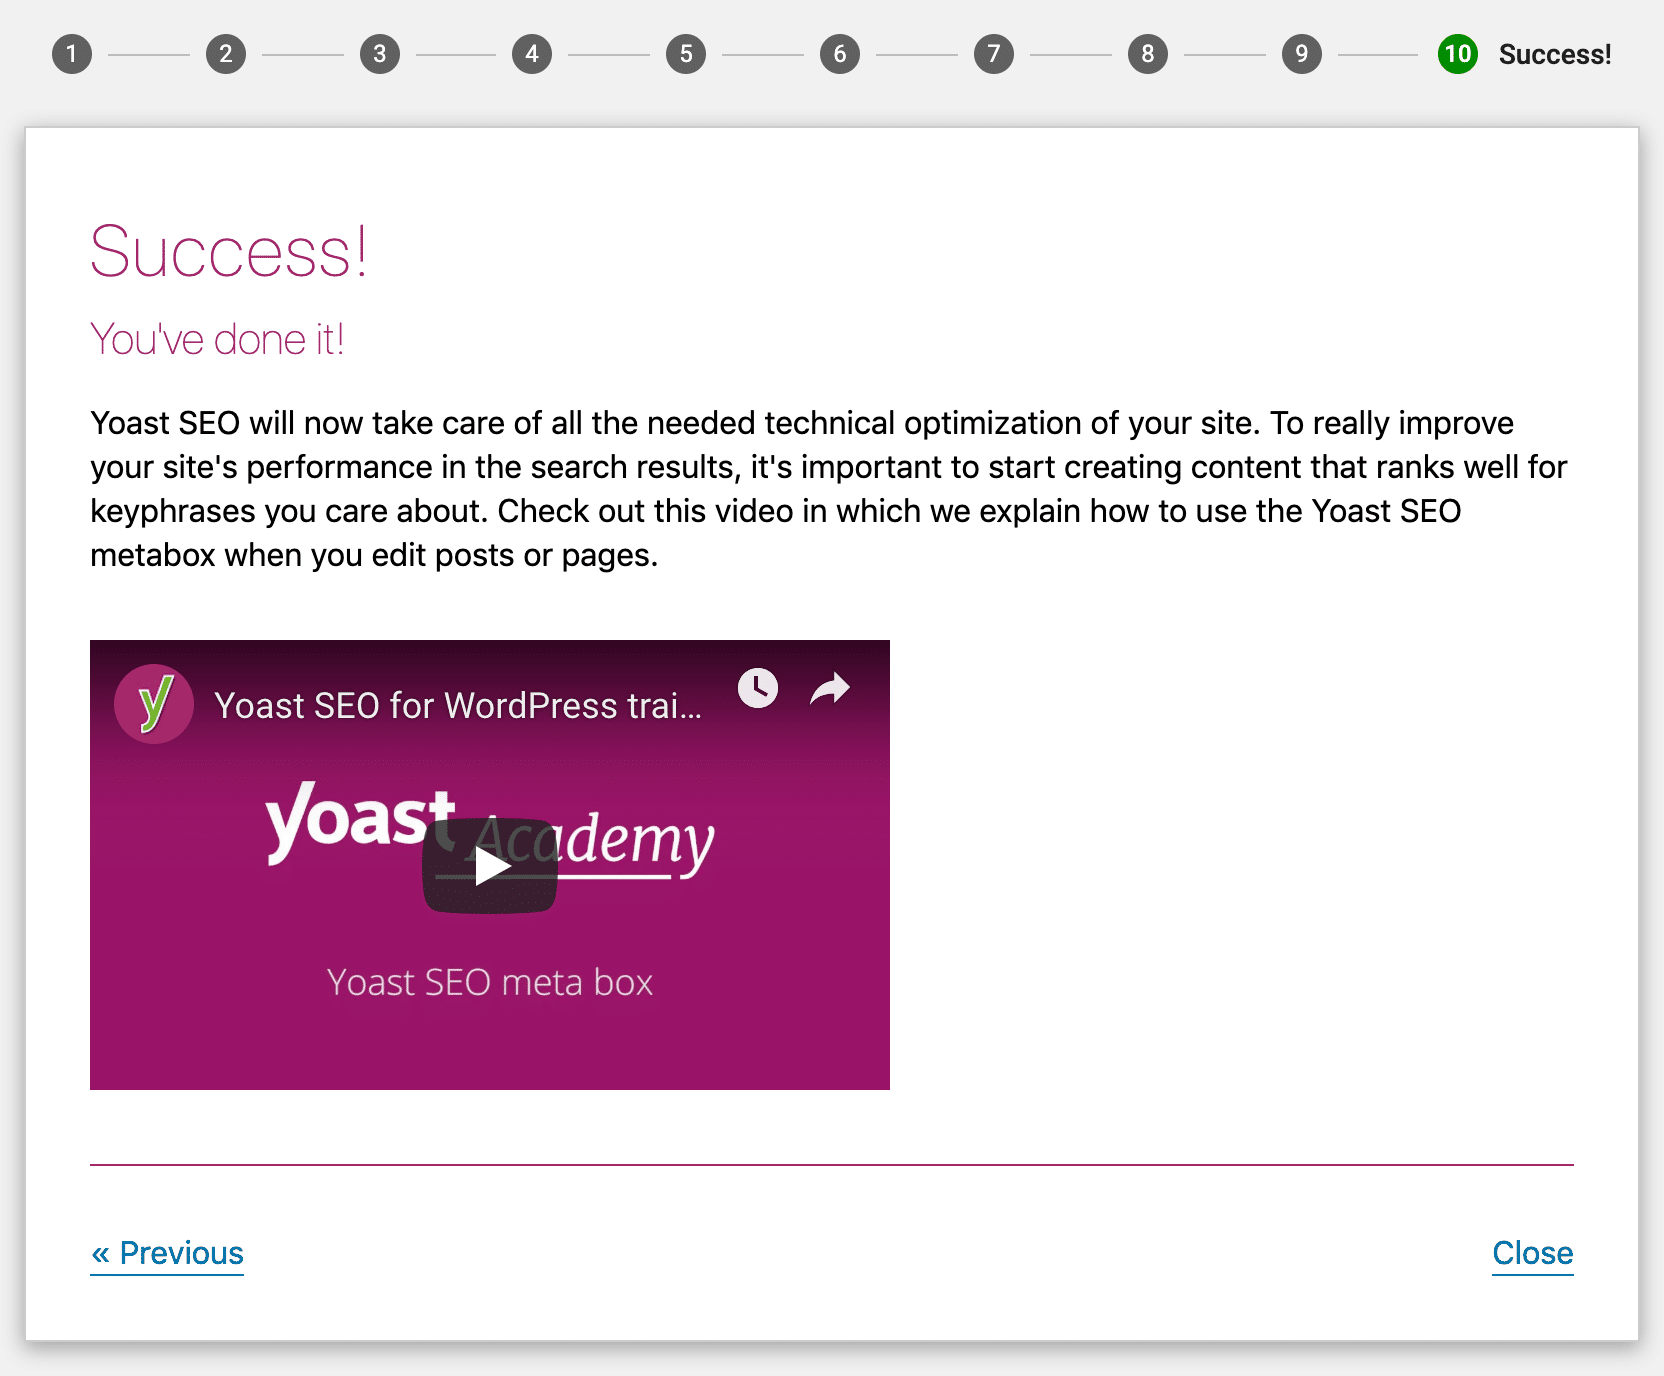
Congratulations – you just configured Yoast SEO!
Using The Yoast SEO Meta Box
On a day-to-day basis, the Yoast SEO meta box is where you’ll interact with the plugin the most. The meta box helps you by:
- Analyzing your content for its SEO quality and readability
- Letting you configure settings for how your content functions in Google and social media
The meta box appears underneath the WordPress editor (its exact location depends on your other plugins and themes). If you’re using the new WordPress block editor, you can find this on the right-hand sidebar as well. There are three different ways to interact with the meta box:
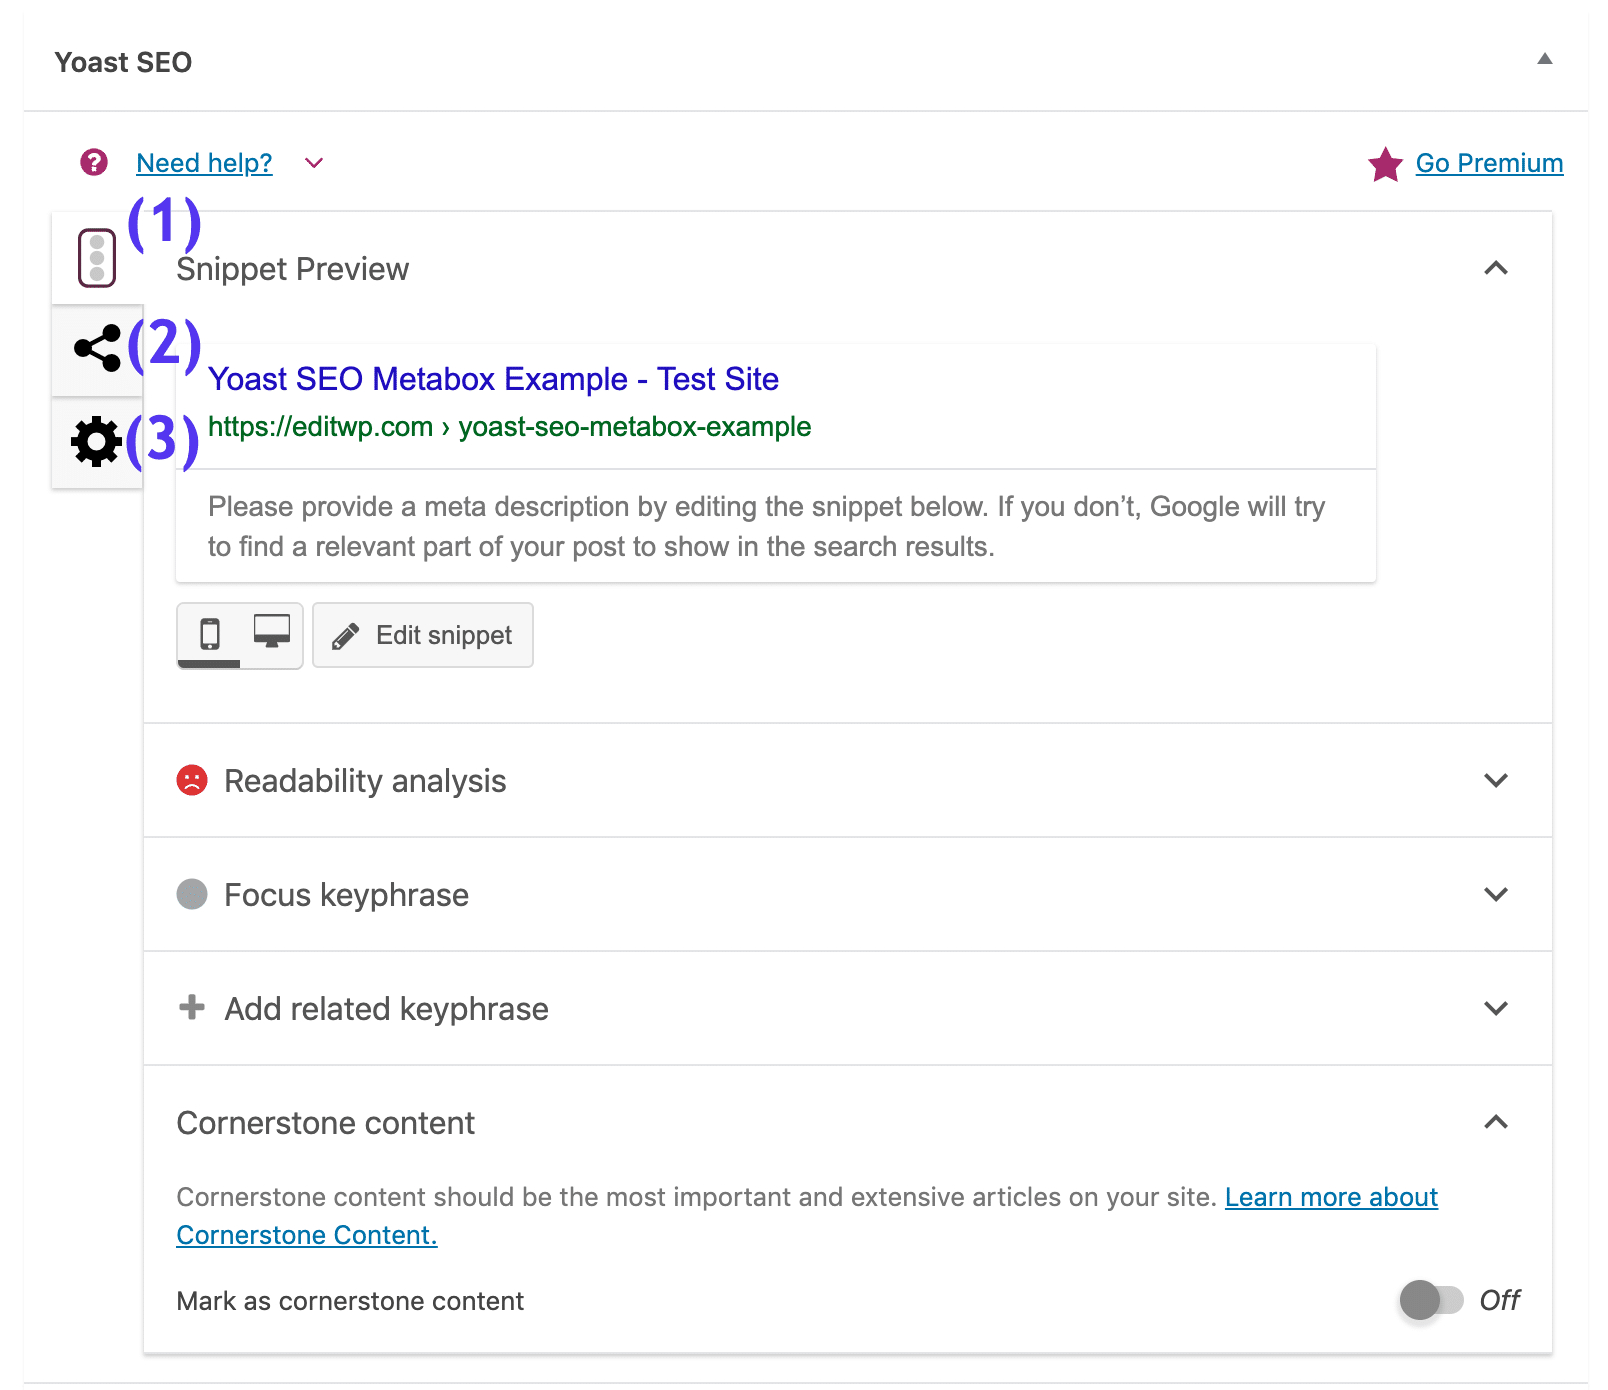
- (1) – lets you switch between Snippet Preview, Readability analysis, Focus keyphrase, and Cornerstone content
- (2) – lets you access additional settings for social media
- (3) – lets you access advanced options
Content Optimization Tab
The Content Optimization tab is mostly about how well optimized your content is for search engines.
The first area in the content optimization tab is the Snippet preview.
You can click the Edit snippet button to manually edit your content’s SEO Title and Meta description. You’ll see a live preview at the top as you edit the information:
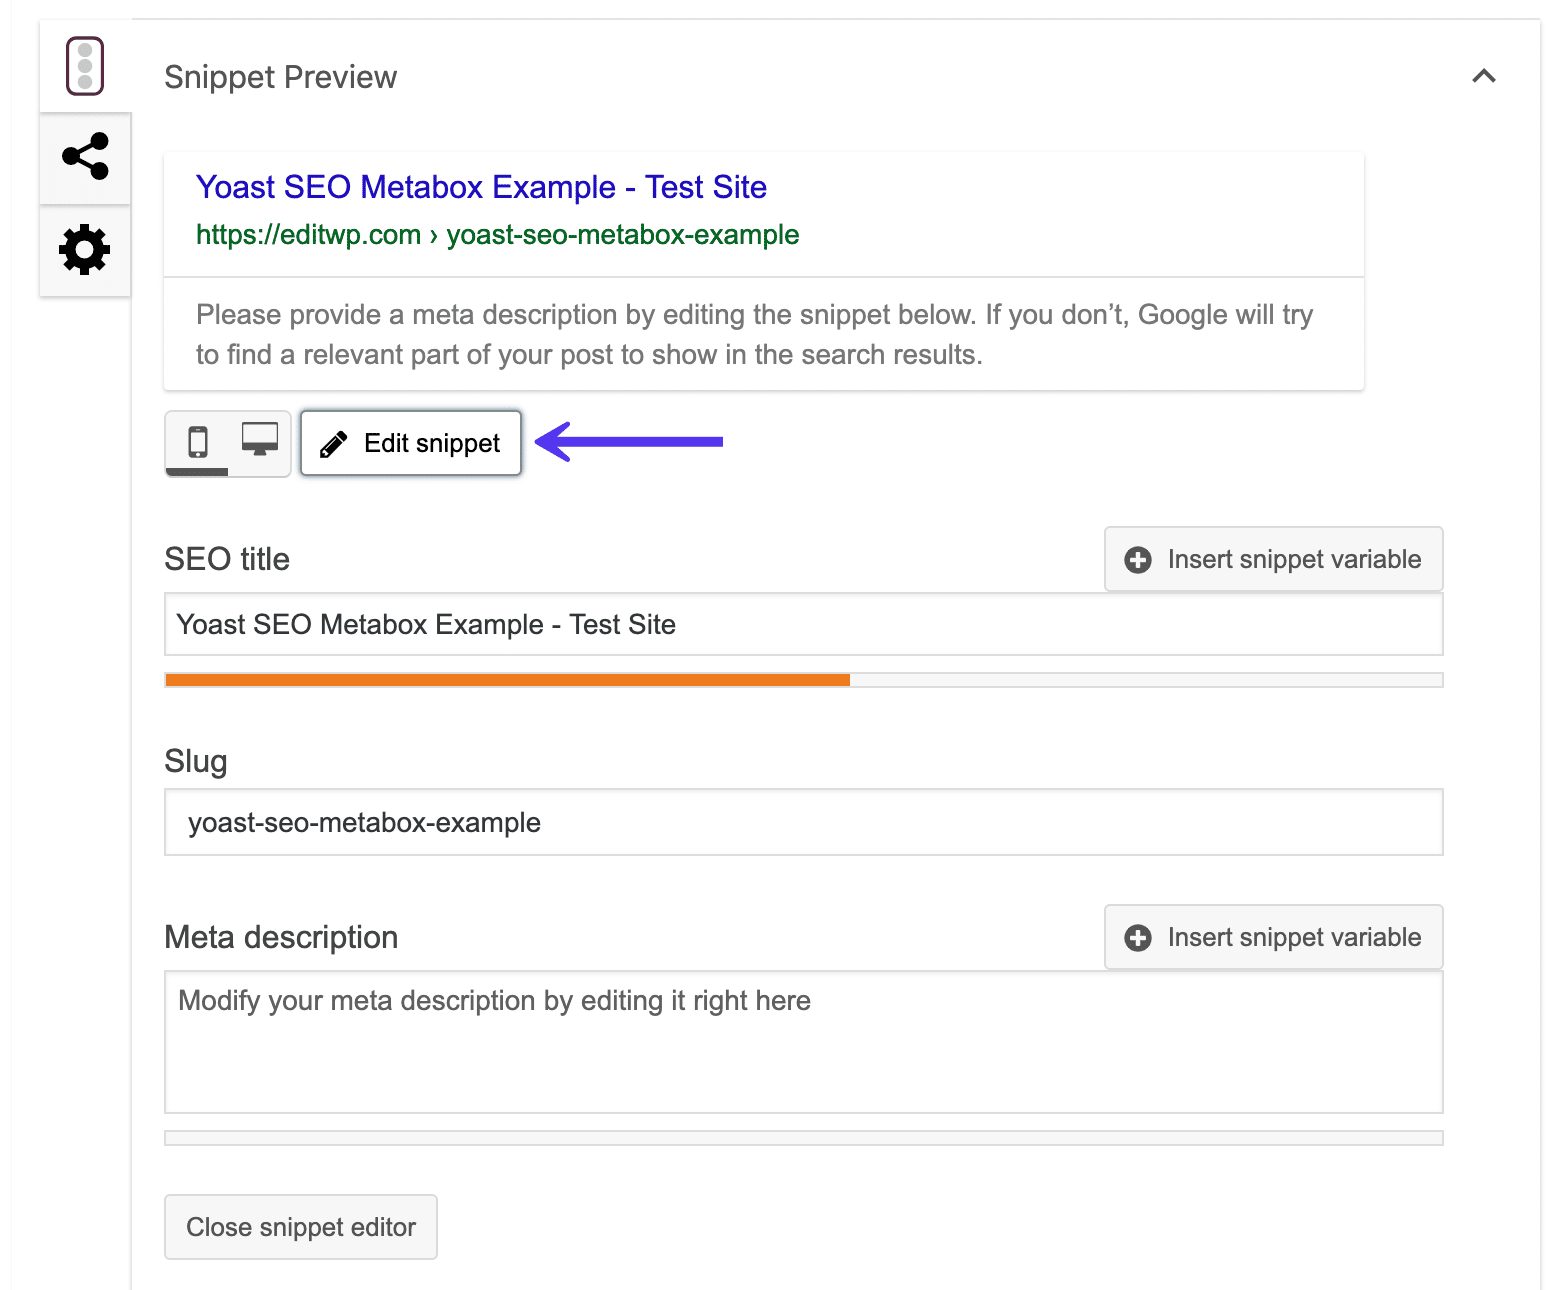
This information is important because it’s what will show up in Google’s organic search results:

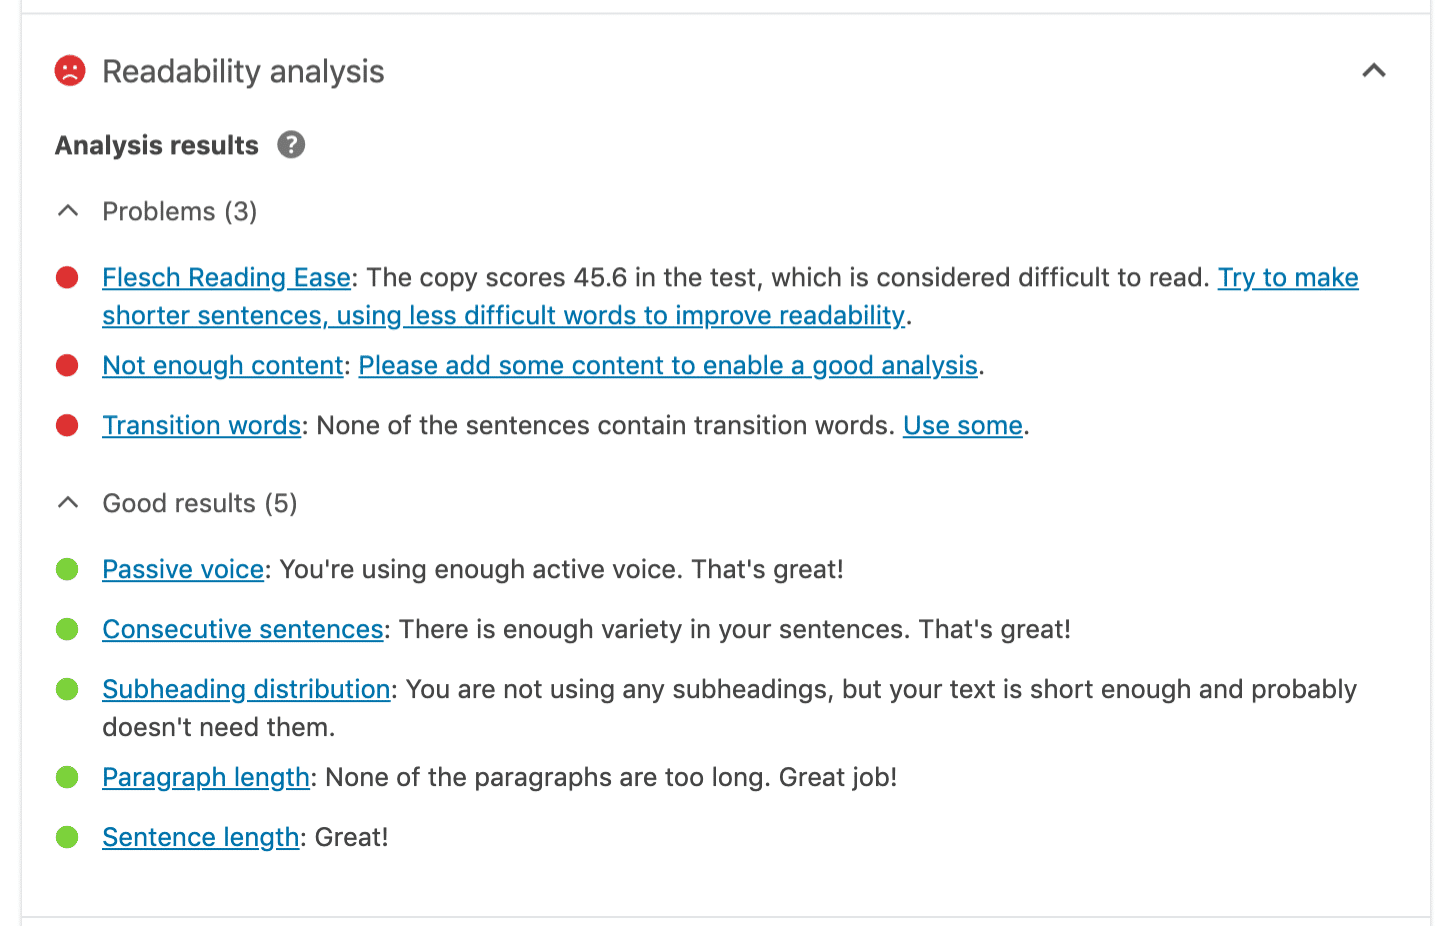
In the Readability analysis area, Yoast SEO tries to apply that same concept to humans. Essentially, it tries to gauge how readable your content will be to human visitors and then makes some suggestions for how to improve your content’s readability.
These suggestions aren’t perfect – so don’t feel like you need to get a perfect score. But they are a good high-level guide:
In the Focus keyphrase area, you can enter a Focus keyword to optimize your content for.
Essentially, you’ll want to perform some basic keyword research to find a keyword that people are searching for. Then, you plug that keyword into this box and Yoast SEO will analyze your content to see how well optimized your post is for that specific keyword.
It will tell you both what you’re doing well and what needs to be improved. If you are using the premium version of Yoast SEO you can also add a related keyword.
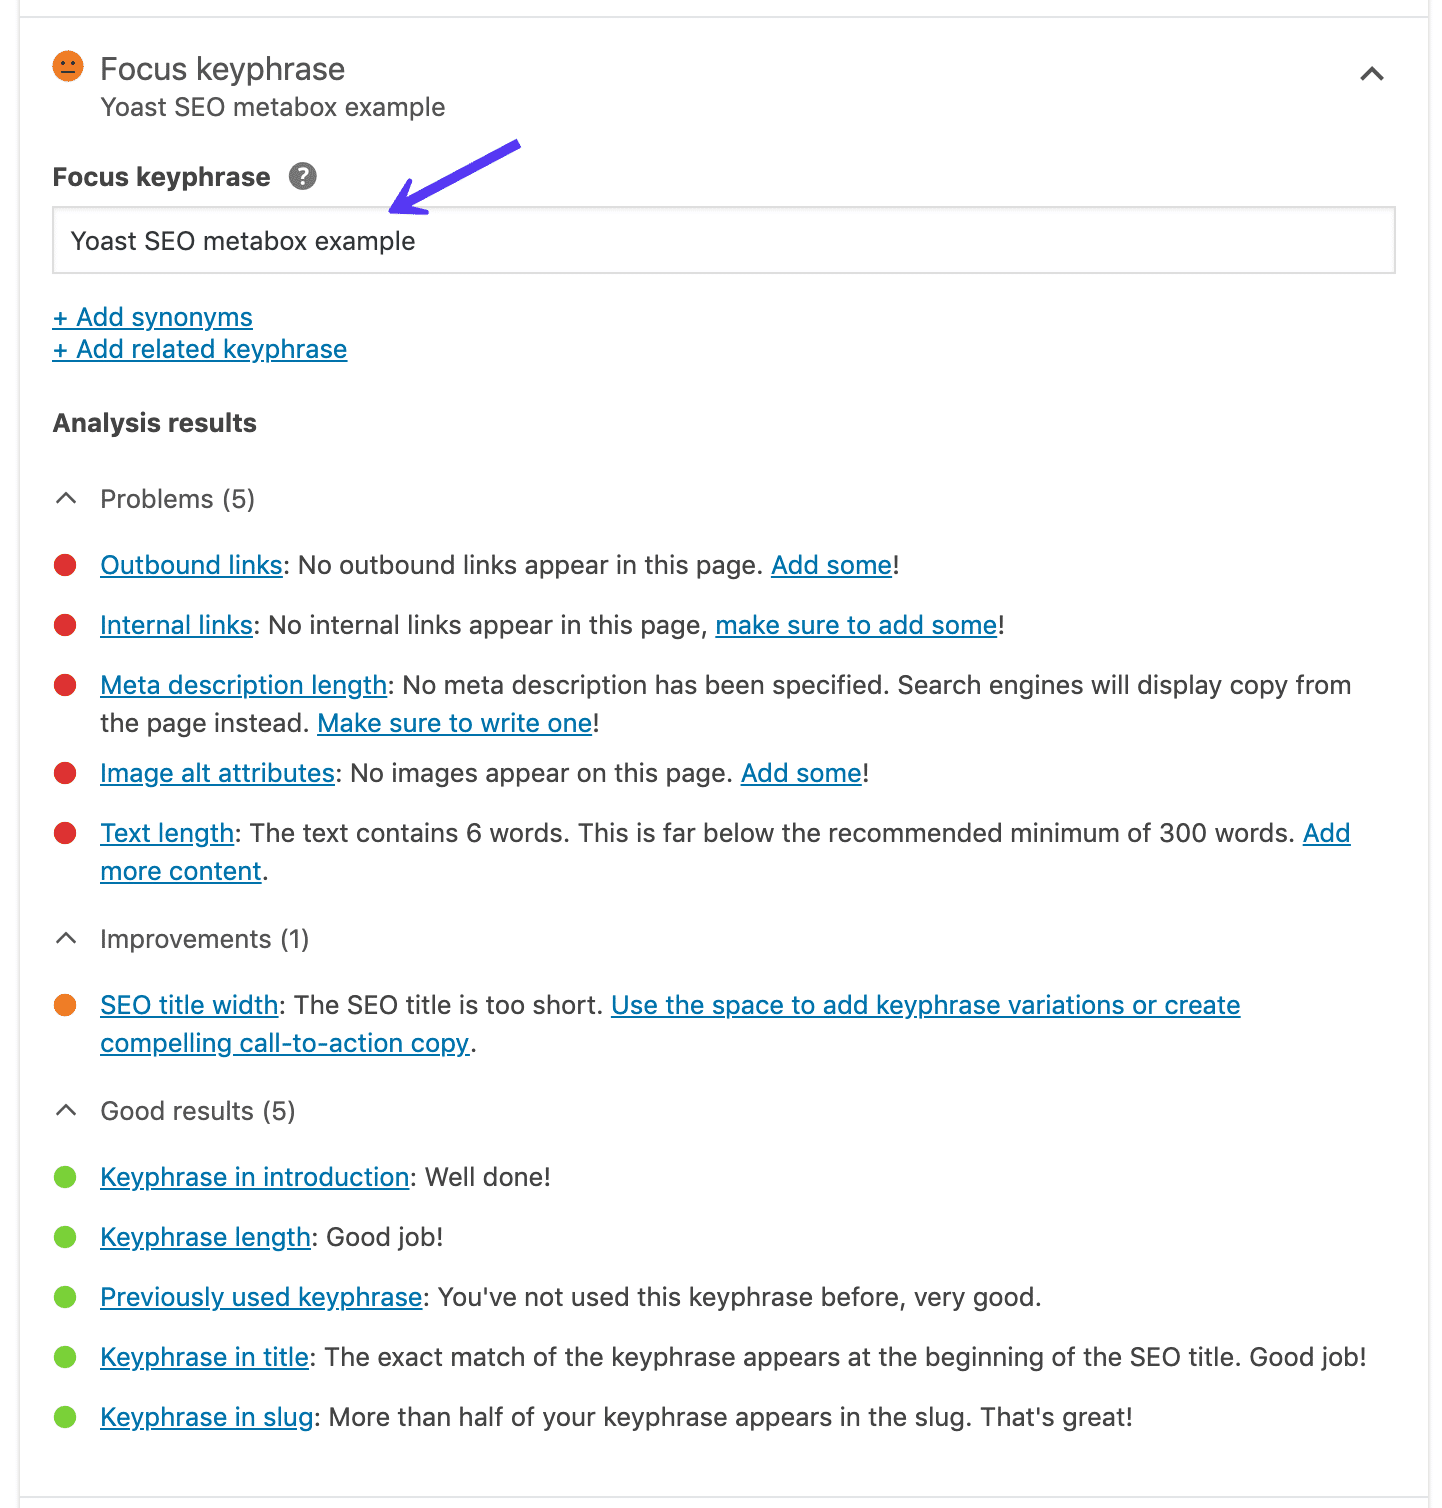
It’s important to remember that the Yoast focus keyphrase doesn’t help you rank in Google. It’s only advice to help you optimize your content.
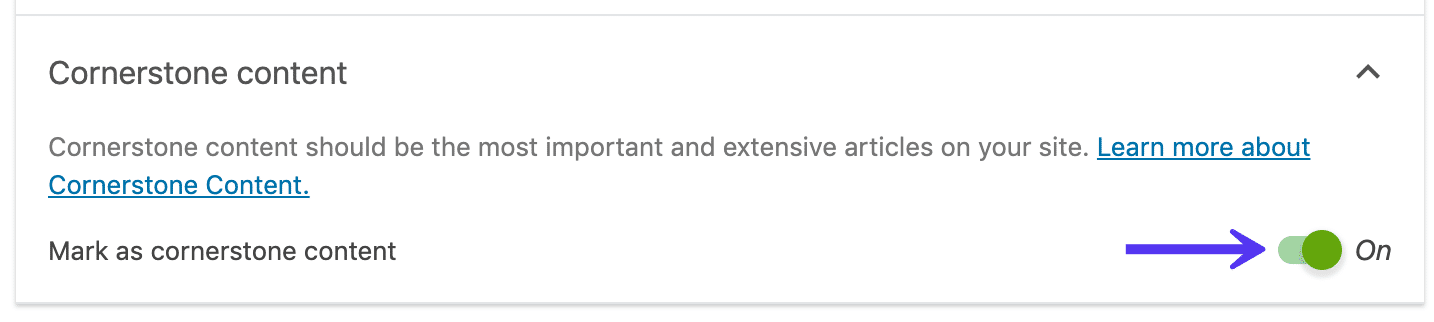
In the Cornerstone content area, you can choose whether or not to designate the post as cornerstone content.
Cornerstone content is the core of your website. It consists of the best, most important articles on your site; the pages or posts you want to rank highest in the search engines. Cornerstone articles are usually relatively long, informative articles, combining insights from different blog posts and covering everything that’s important about a certain topic.
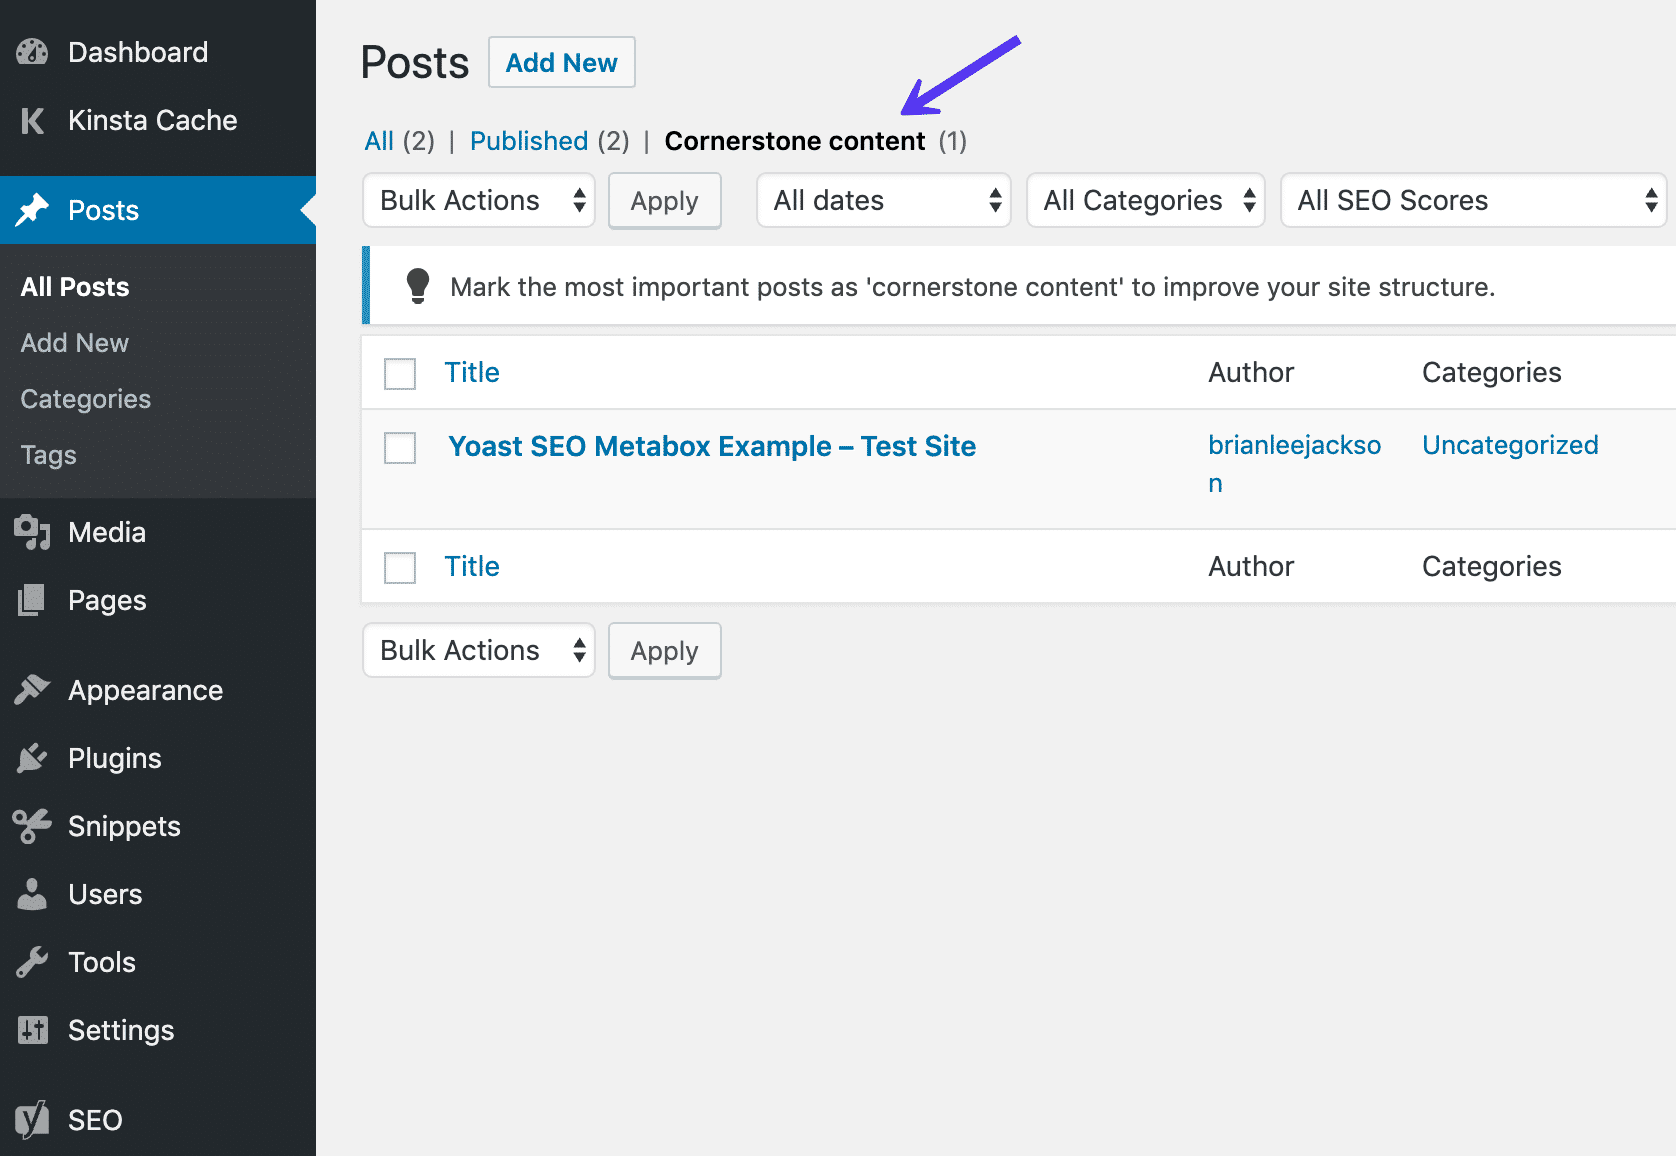
In other words, only choose your best content and posts or pages that you are going to keep up to date as cornerstone content. You can then easily sort by your cornerstone content in the posts and page lists.
how to use yoast seo premium
Before we explain how the automatic installation flow works, it is good to know that only Yoast SEO Premium can be installed using this installation flow. You can access the installation flow in two ways: right after you purchase Yoast SEO Premium and complete the checkout process, or by going to https://my.yoast.com/install. Then, to install Yoast SEO Premium to your WordPress site, follow these steps.
- Enter your site’s URL in the designated field.You can either add a new URL or choose an existing one you’ve already added to MyYoast (both options indicated with an arrow in the image below).
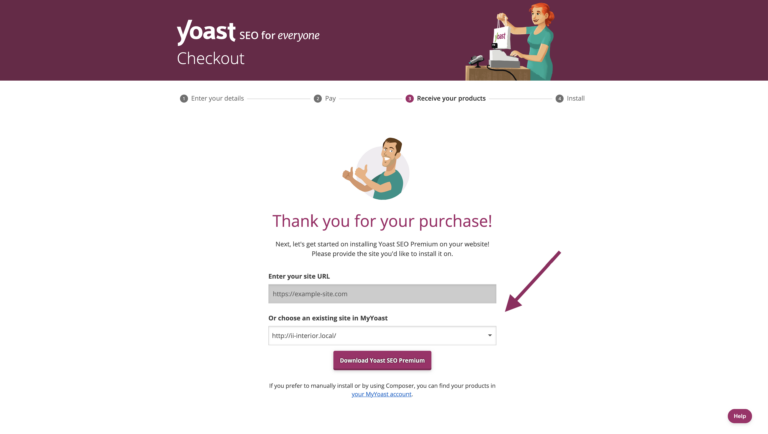
- Click the Download Yoast SEO Premium button.Depending on the browser you are using and the settings you have you may:
a. be prompted to select the folder where you want to have your plugin downloaded (see image below). Then, a .zip format of the plugin will be downloaded to your hard drive.
b. the plugin may automatically download in your downloads folder.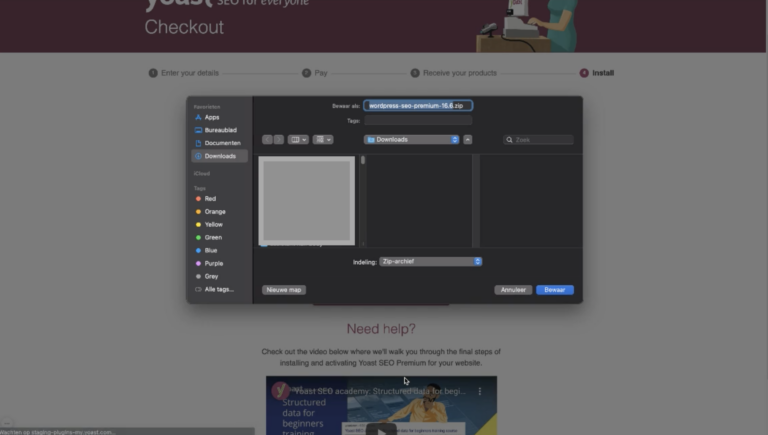
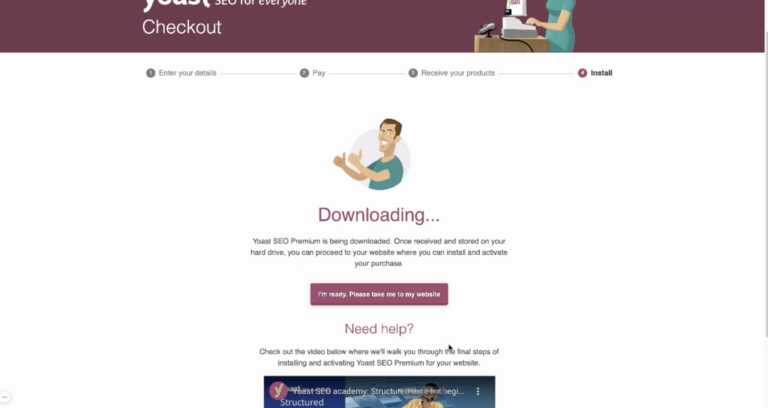
- When the download is ready, click the button: I’m ready. Please take me to my website.You will automatically be taken to the backend of your website. If you are not logged into your site you will need to log in. When logged in, you’ll automatically land on the Add Plugins screen in WordPress.
- In the Add Plugins screen, upload the plugin .zip to your WordPress site and click the Install Now.You can do that either by clicking Choose File and then finding and selecting the .zip. Or, you can drag the downloaded .zip from the folder where you downloaded it and drop it in the Choose file filed.
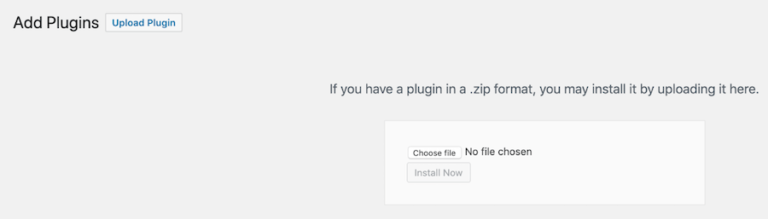
- Click Activate Plugin.When the plugin is installed, you will be taken to a new screen that shows you the installation status. If the plugin was successfully installed, you should see that message on the screen.
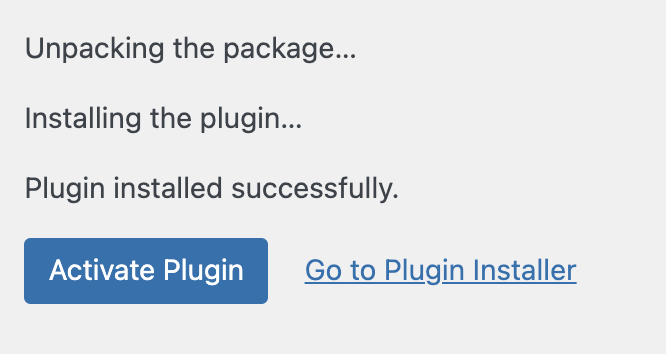
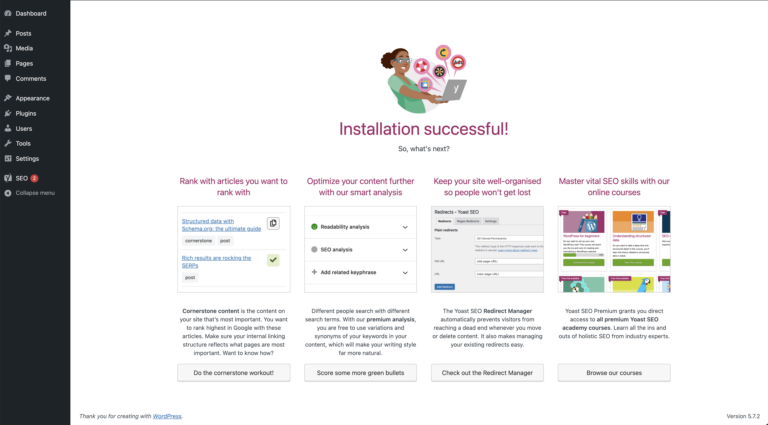
- Enjoy using Yoast SEO Premium!Yoast SEO Premium will be active on your site. You will be taken to a screen that confirms that your installation was successful. On that screen, you will also see some suggestions on where to start with your SEO optimization. For example, you can start by doing the Yoast SEO Premium internal linking workout.
How to manually install Yoast SEO Premium
Getting the Yoast SEO Premium plugin to work consists of three steps:
- Downloading the plugin
- Installing the plugin
- Connecting your subscription
Let’s go through each step in a bit more detail.
Step 1: Download the Premium plugin
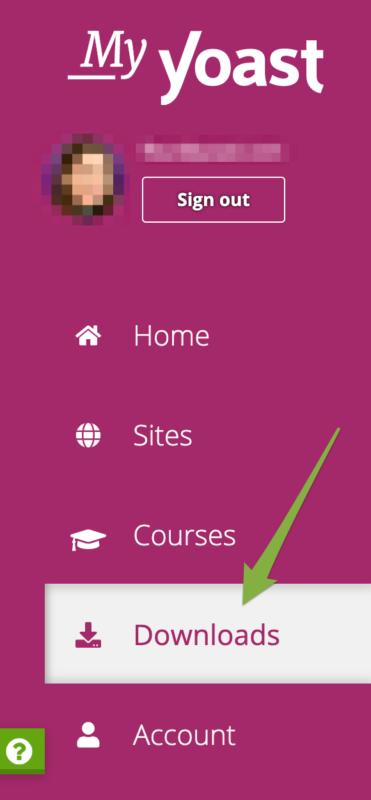
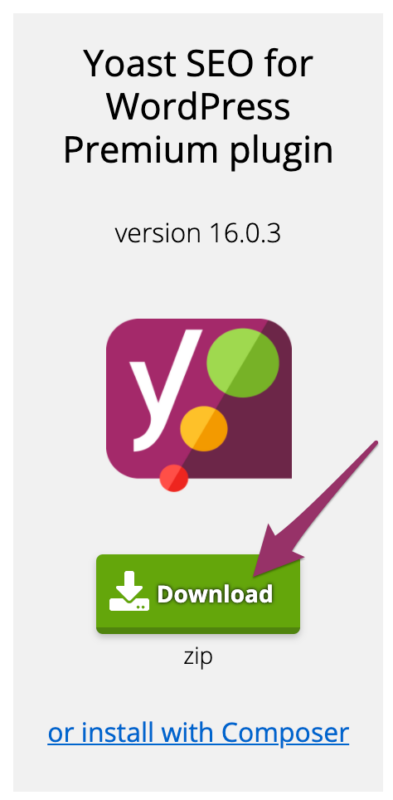
First of all, you need to download the Premium plugin. You can download the plugin in the Downloads section of MyYoast. When you click the download button of the Yoast SEO Premium plugin in MyYoast, you will either be prompted to select a folder to save the zipped file or your browser will save the zip file automatically to your Downloads folder. Either way, make sure to remember where you save this file.
You can always visit the Downloads section of MyYoast, should you wish to download the plugin again.
Don’t have a MyYoast account yet? Use our QuickStart Guide to find out how to create one. Keep in mind that we create a new MyYoast account for you when you purchase with a new email address.
My download is a folder, not a .zip file
If you’re downloading one of our plugins and instead of a .zip file you get a folder, your computer is unzipping the archive file immediately. The steps to change this behavior depend on the browser you use to download the file. After you change the behavior using the steps here, return to the Downloads section of MyYoast and download the plugin again.
Step 2: Install Yoast SEO Premium
Yoast SEO Premium is an “add-on” for the free version of the plugin. This means that Yoast SEO Premium is a companion to the free version, and you need both plugins to work. So, before you can install Yoast SEO Premium, make sure you have Yoast SEO free installed and activated.
If you already have Yoast SEO free installed, please update it to the latest version before you install Yoast SEO Premium.
How to install Yoast SEO Premium
Installing the Premium plugin is a little different than installing our free plugin since it’s a downloadable plugin and not one that you can find in the free WordPress plugin repository. Let’s go through the steps you have to take to install the Yoast SEO Premium plugin!
- Log in to your WordPress website.
When you’re logged in, you will be in your Dashboard. - Click on Plugins in the Admin menu on the left (see image below).
The Plugins settings will expand.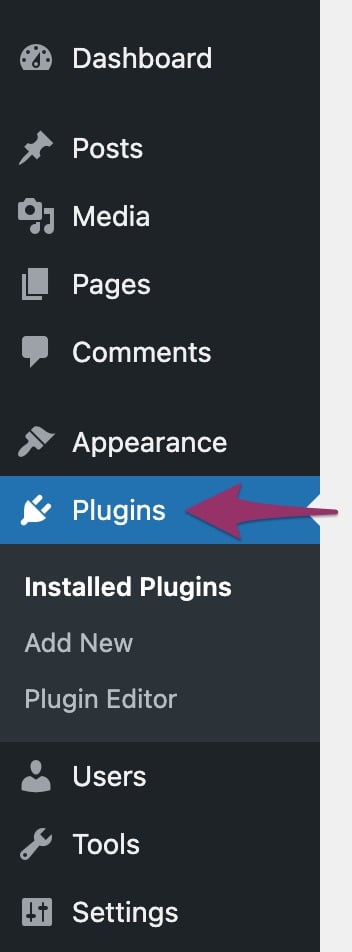
- Click Add New.
A new screen will open.
Note: If you don’t see the Add New option, your site is either a part of a multisite network, or you don’t have the right permissions to install plugins on the site. If you are in a multisite environment, please install the plugin through the network admin under “My Sites”> “Network Admin”>”Plugins”.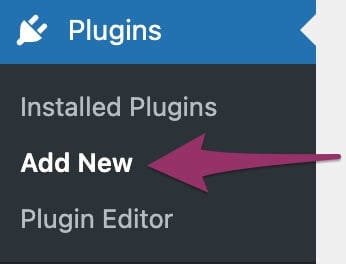
- Click the ‘Upload Plugin’ button at the top of the screen.
The screen will expand with the option to upload files.
- Click the Choose File button.
A new box will pop out. You can browse the folder where you save the plugin and select the plugin .zip file there. - Click Install Now.
You will need to wait for the plugin to install. That may take a while. If you get an error message, check the Common installation errors for a possible solution. - Click Activate Plugin.
You have to activate the plugin for it to work. If you have a multisite installation, you will see the option to “Network Activate”. To activate the plugin for all sites within the network, click “Network Activate”.
Install through Composer
Want to install our premium plugins via Composer? We’ve got you covered with this guide on how to install Yoast plugins using Composer.
Step 3: Connect your subscription
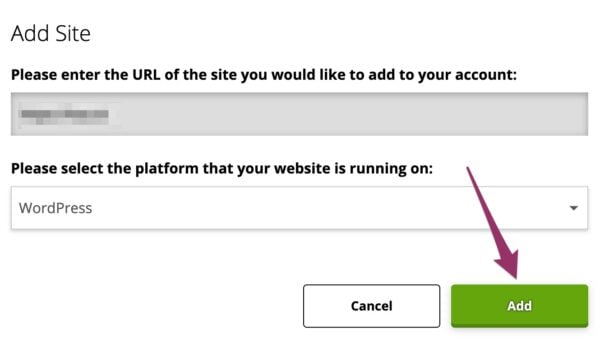
Now, you can move on to the final step: it’s time to connect your subscription! Go to the Sites section of MyYoast. There, click ‘Add site’, enter the URL of the site you would like to add to your account and select the platform that your site is running on. Lastly, click on ‘Add’ to confirm.
Once you’ve done this, you’ll see your site in the Sites overview. Click the ‘Manage’ button behind your site’s URL, and connect your subscription to your site by switching the toggle to ‘On’, as shown in the image below.
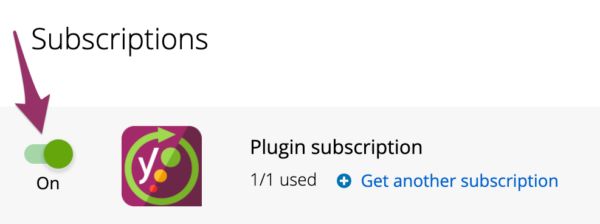
That’s it! Yoast SEO Premium is now installed and activated on your site!
Conclusion
Let us know your thoughts in the comment section below.
Check out other publications to gain access to more digital resources if you are just starting out with Flux Resource.
Also contact us today to optimize your business(s)/Brand(s) for Search Engines